
-
-
Cut two 4x4's to 87" in length.
-
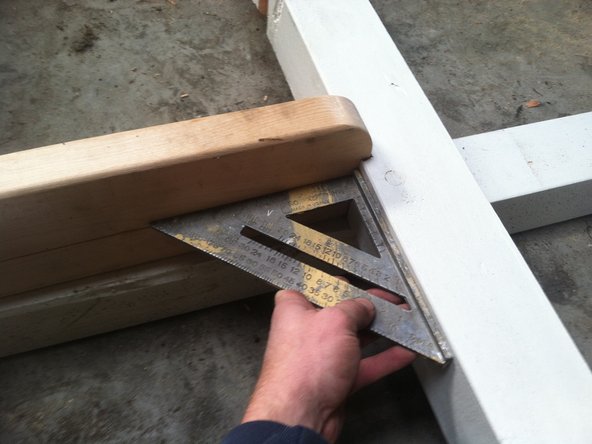
Mark the first side with the square, then use that line to transfer the mark to the other sides.
-
-
-
Mark 1/2" from the end of each 4x4.
-
Transfer the line to two of the other sides in a similar manner to step 1.
-
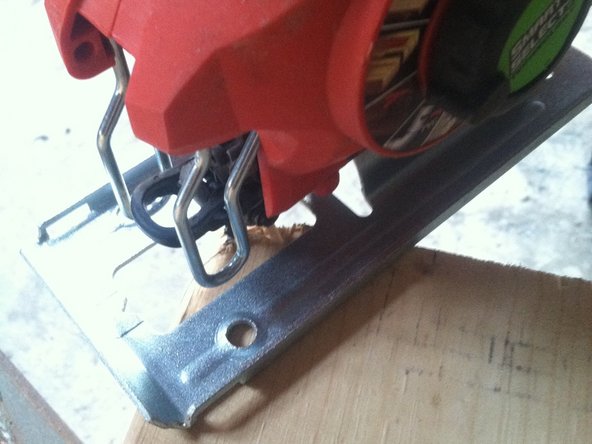
Set your circular saw blade to a 45 degree angle as seen in photo 2.
-
Bevel 3 of the sides by using the angled blade to cut along the line. The result will look like photo 3.
-
The fourth side does not get beveled because it lays flush against the wall.
-
-
-
You will add 6 steps to the ladder.
-
The bottom of each step falls on a multiple of 11".
-
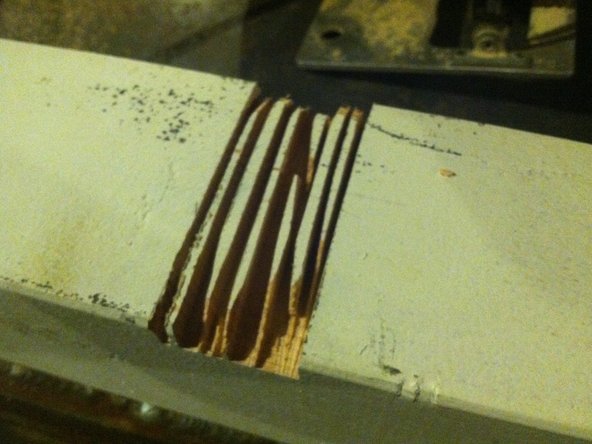
You will measure and make lines at the following measurements: 11" and 12.5", 22" and 23.5", 33" and 34.5", 44" and 45.5", 55" and 56.5", and 66" and 67.5".
-
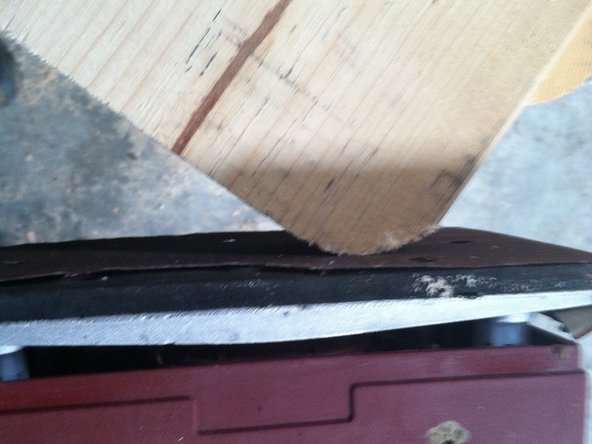
Use the circular saw to cut along each line and then make numerous cuts in between each pair of lines as seen in photo 1.
-
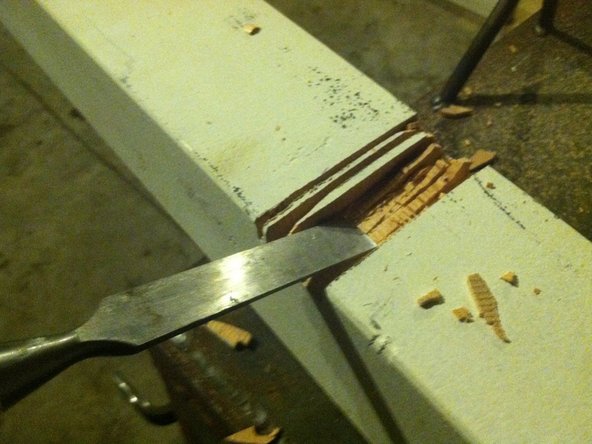
Use a chisel to clean out these notches as seen in photo 2.
-
-
-
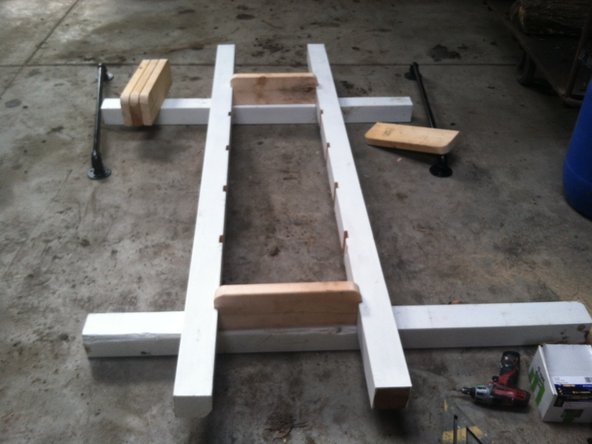
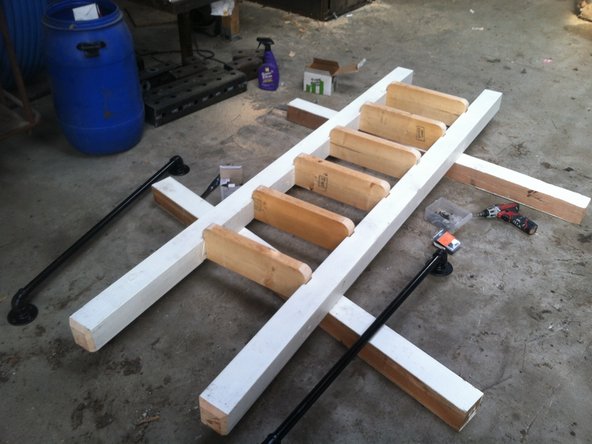
Slide one step into the top and one step into the bottom of the side supports.
-
Use a block to tap everything together snugly if the pieces are fitting tightly.
-
Make sure that the assembly is square using your speed square, as shown in photo 2.
-
Toe-screw from the underside each step.
-
After you have done the top and the bottom step, repeat the process on the intermediate steps.
-
-
-
The top of the ladder is the side with extra space.
-
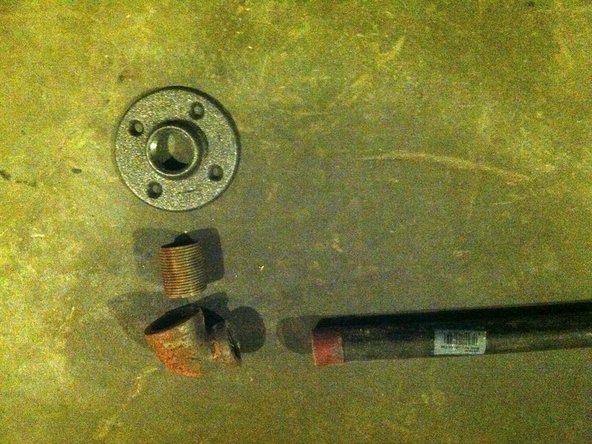
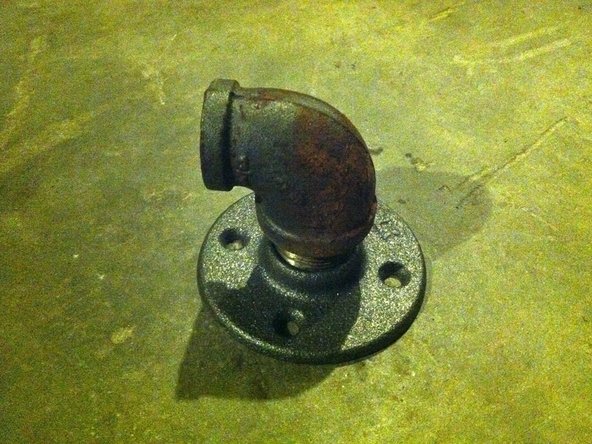
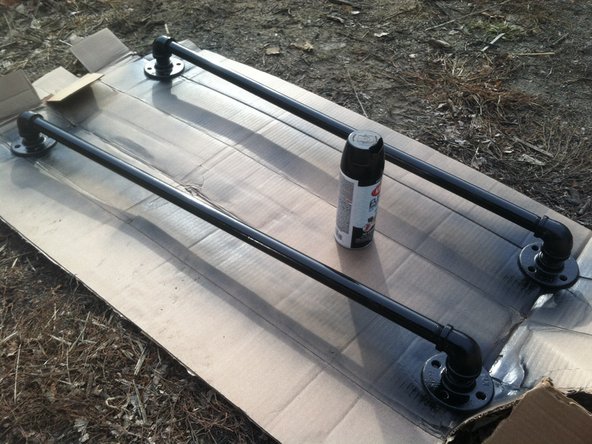
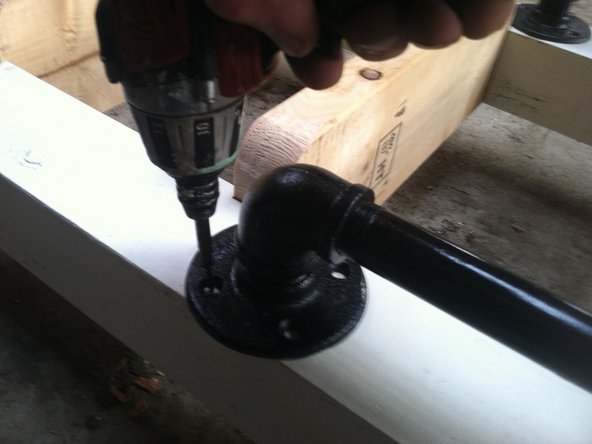
Lay out one of the handrails so that the flange comes to rest just below the bevel. The other end with land right next to step.
-
Make sure that the overlap of the flange is on the outside. This will keep people's clothes from catching on it as the go up and down.
-
Screw the flanges as seen in photo 3 and repeat for the other side.
-


One Comment
Handrails should extend further up for more saftey and comfort...
Ralf Otterpohl - Resolved on Release Reply