Difficulty
Moderate
Steps
10
Time Required
- Ladder 10 steps

In Progress
This guide is currently being written. Reload periodically to see the latest changes.

Private
This guide will not appear in search results and can only be viewed by team members!
Quiz
0
-
-
Cut two 4x4's to 87" in length.
-
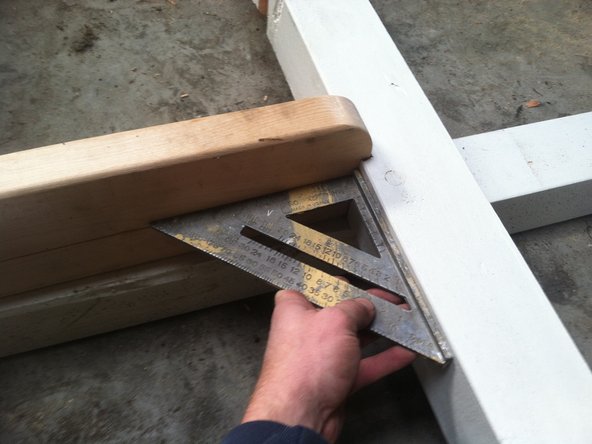
Mark the first side with the square, then use that line to transfer the mark to the other sides.
-
-
-
Mark 1/2" from the end of each 4x4.
-
Transfer the line to two of the other sides in a similar manner to step 1.
-
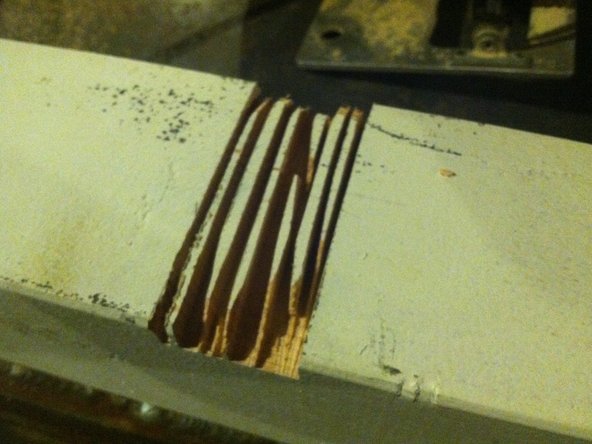
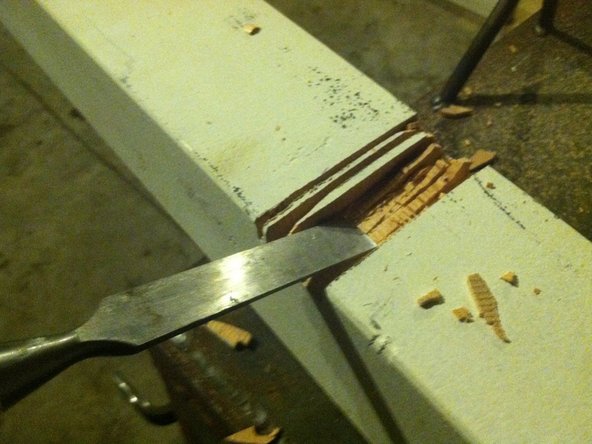
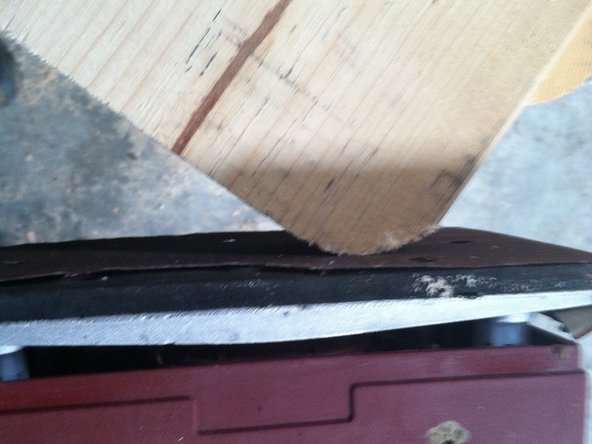
Set your circular saw blade to a 45 degree angle as seen in photo 2.
-
Bevel 3 of the sides by using the angled blade to cut along the line. The result will look like photo 3.
-
The fourth side does not get beveled because it lays flush against the wall.
-
-
-
You will add 6 steps to the ladder.
-
The bottom of each step falls on a multiple of 11".
-
You will measure and make lines at the following measurements: 11" and 12.5", 22" and 23.5", 33" and 34.5", 44" and 45.5", 55" and 56.5", and 66" and 67.5".
-
Use the circular saw to cut along each line and then make numerous cuts in between each pair of lines as seen in photo 1.
-
Use a chisel to clean out these notches as seen in photo 2.
-
-
-
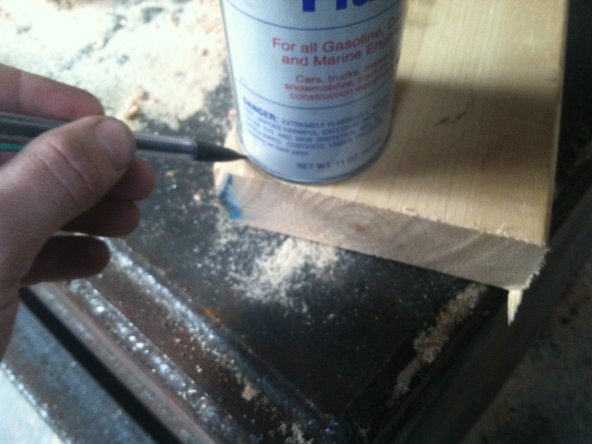
Using an 8' long 2x6, cut 6 pieces that are 16" long each.
-
-
-
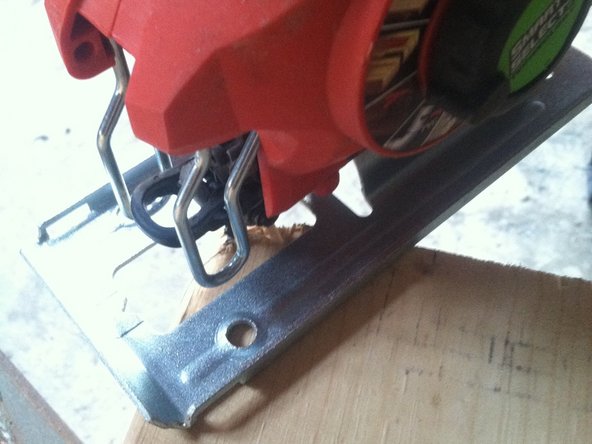
Mark a radius on two corners on the same long side of the step.
-
These rounded corners will keep people from getting gouged or snagged on the step edges.
-
Use a jigsaw to cut the rounded corners, as seen in photo 2.
-
Use a sander to sand the rounded corners smooth.
-
-
-
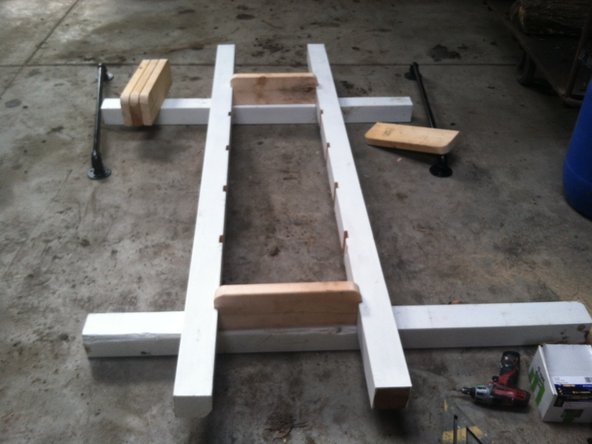
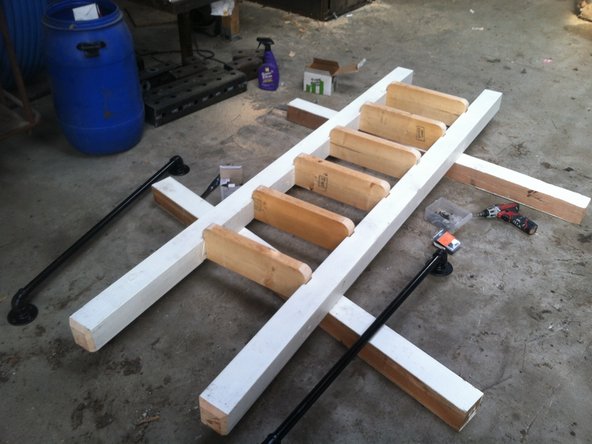
Slide one step into the top and one step into the bottom of the side supports.
-
Use a block to tap everything together snugly if the pieces are fitting tightly.
-
Make sure that the assembly is square using your speed square, as shown in photo 2.
-
Toe-screw from the underside each step.
-
After you have done the top and the bottom step, repeat the process on the intermediate steps.
-
-
-
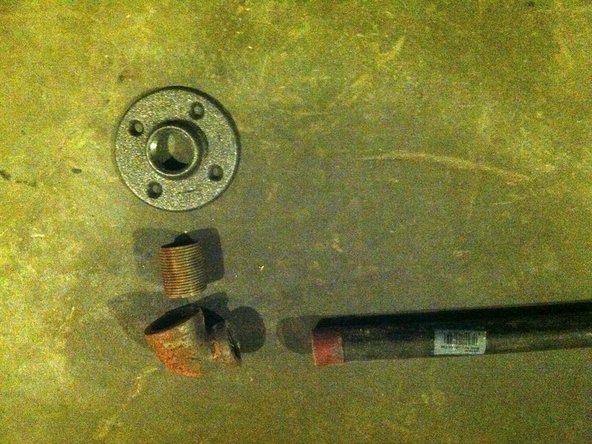
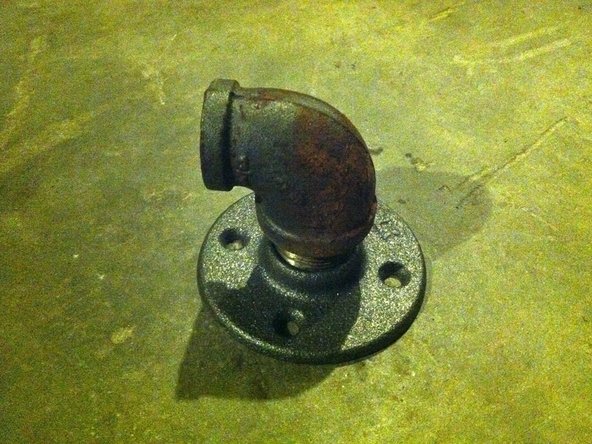
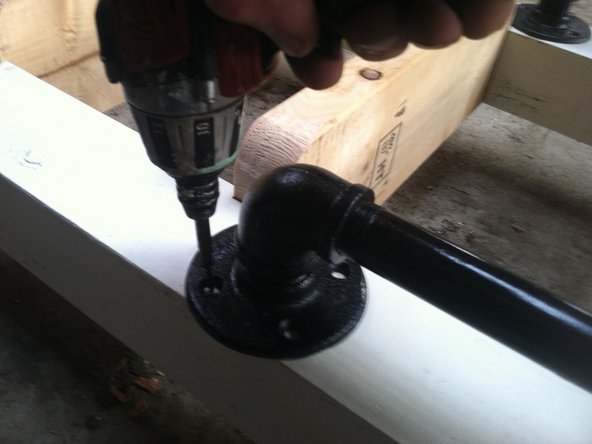
Assemble the handrail for each side. Each bracket is made of a 3/4" x 1/2" elbow, a 3/4" nipple, and a 3/4" flange ring.
-
Make 4 of these as seen in photo 2.
-
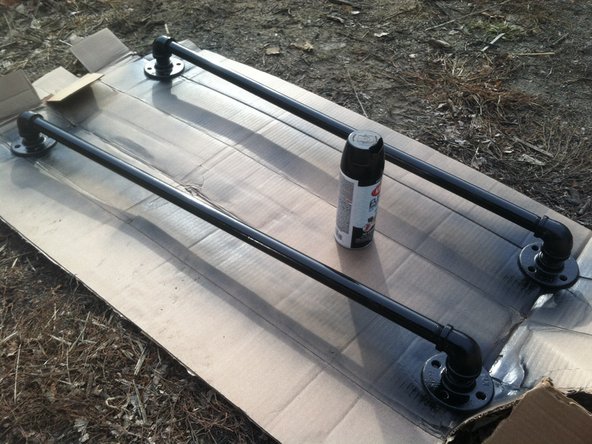
Add the end brackets to the two pieces of 3' long 1/2" pipe. The finished rails look like photo 3.
-
-
-
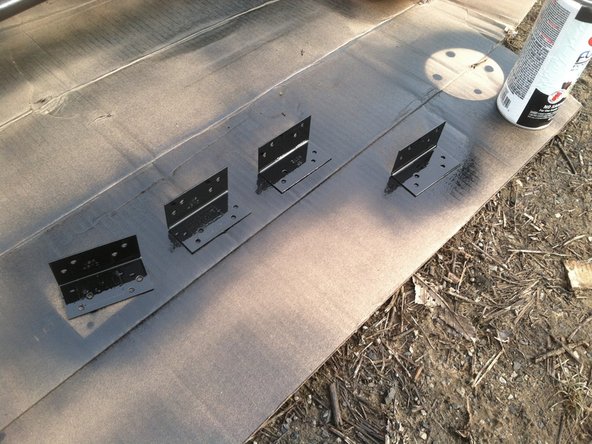
Paint the handrails with a metal-appropriate paint.
-
At the same time, paint 4 small L-brackets with the same color, like in photo 2.
-
The L-brackets will be used to attach the ladder to the wall in the MicroHouse.
-
-
-
The top of the ladder is the side with extra space.
-
Lay out one of the handrails so that the flange comes to rest just below the bevel. The other end with land right next to step.
-
Make sure that the overlap of the flange is on the outside. This will keep people's clothes from catching on it as the go up and down.
-
Screw the flanges as seen in photo 3 and repeat for the other side.
-
-
-
Mount the ladder to the MicroHouse wall using the 4 L-brackets, two on the top and two on the bottom.
-