Introduction
- Hopper Support Model* Grate Support ModelAdditional Materials Required:* 3/4"x1.5" Bolts (2)* 3/4" Nuts (2)* [invalid guide link]
Tools
Parts
No parts specified.
-
-
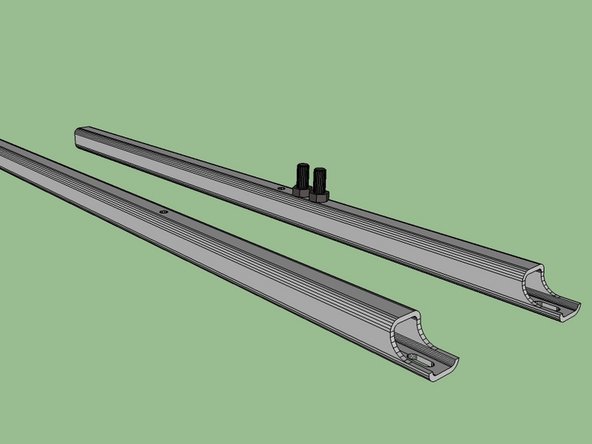
Torch away the necessary areas. See diagrams.
-
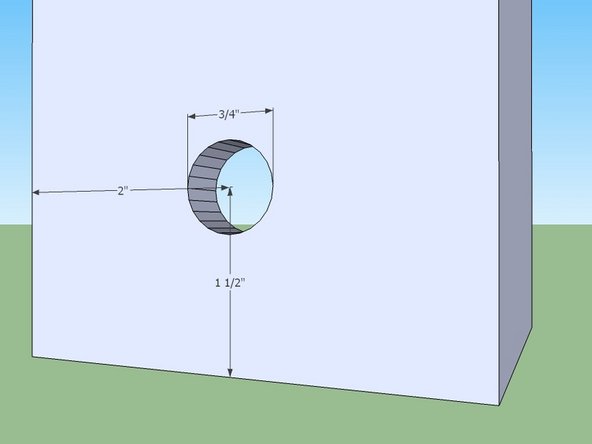
The holes for the hopper mounting need to be 28" away from the bottom side. Mark 28" on the opposite tubing walls and torch 1/2" holes. Insure a 1/2" bolt goes all the way thru.
-
Torch the cutaway at the top and the slot.
-
Grind away any slag.
-
-
-
Lay one support on the table, with the grate mount slot touching the table.
-
Get the Shaker Mount and tighten 3/4" bolts with nuts to the Soil Shaker so the bolt head is where the hammer will be.
-
Prop this up on the hopper support, so the first bolt is about 2" above the 28" hole and both bolts are touching the support.
-
Mark which side of the shaker you are welding the bolts for.
-
-
-
Punch the hole on the bottom of the supports for each.
-
Torch away a 4" section on the top of each grate to make it like the model shown.
-
Remember that the two are mirrored.
-
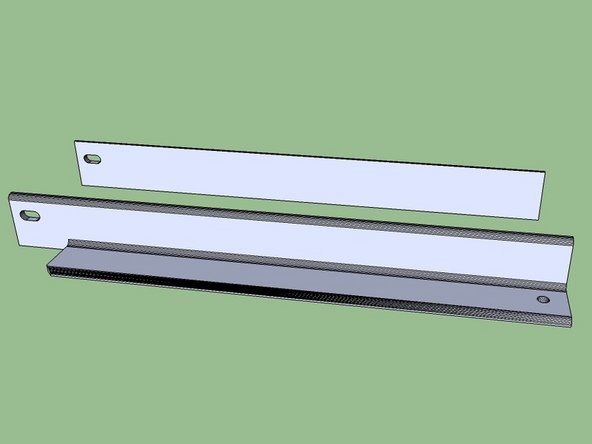
Cut away the corner so the hopper wont hit it, about a 1" 45 degree triangle.
-
Torch a slot for a 3/4" bolt at the top of the mount, as shown.
-
Grind away all the slag.
-


