Difficulty
Moderate
Steps
6
Time Required
- Soil Mixer bucket 6 steps

In Progress
This guide is currently being written. Reload periodically to see the latest changes.

User-Contributed Guide
This guide is not managed by the site's staff.
Quiz
0
-
-
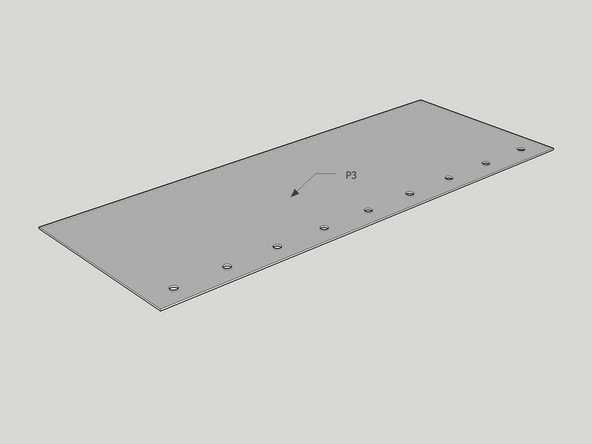
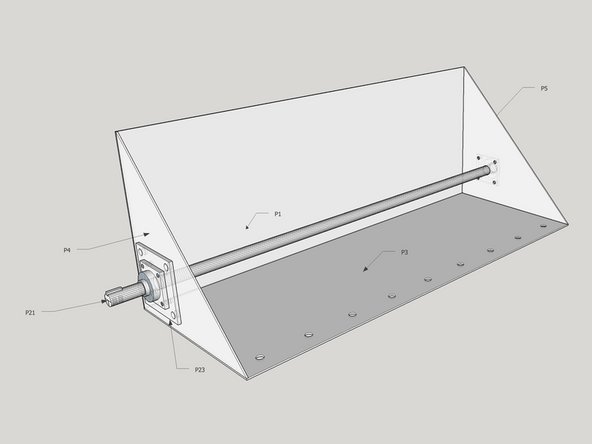
Take P3 (Part 3) Bottom Sheet for bucket and lay flat.
-
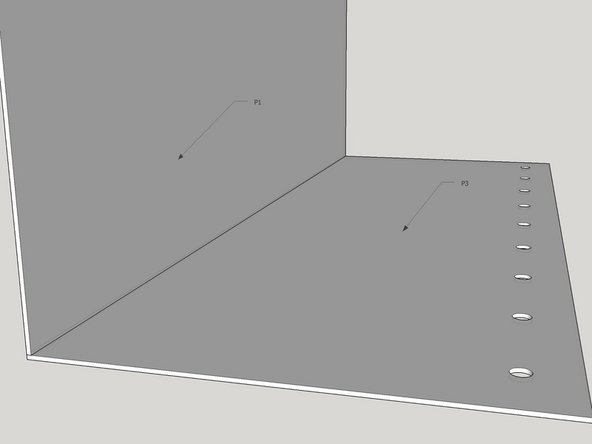
Tack weld backplate (P1) using a set square at a 90 degree angle on top of P3, don't finish the weld until the sidewalls have also been tacked.
-
-
-
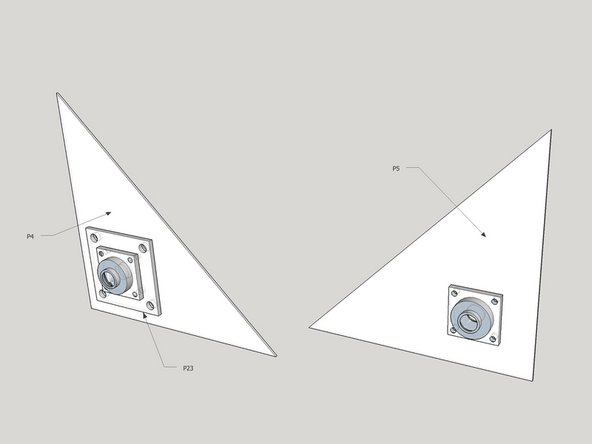
Mount bearings with 1" bolts loosely on the side plates P5 and P4 with bearing mount plate P23.
-
-
-
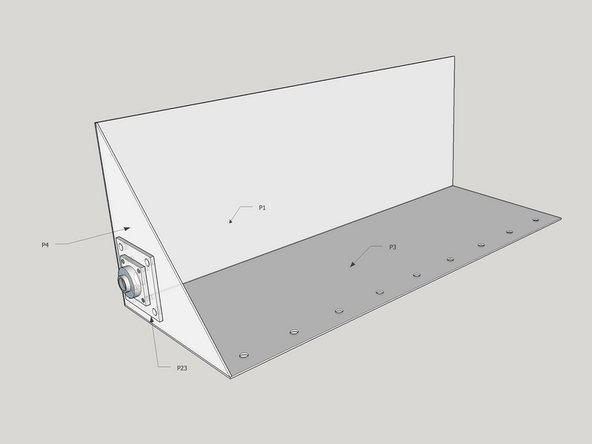
Tack sidewall P4 into place at 90 degrees.
-
Hold sidewall (P5) into place, and then stick Shaft 21 through the bearings to ensure proper alignment of side walls. Tack sidewall (P4). Now tighten the bolts, ensuring the shaft is aligned correctly.
-
Finish welding the seams for the back plate, bottom sheet and sidewalls (P1, P3, P4, P5). Weld in the 1" nuts on the inside side of the sidewalls
-
-
-
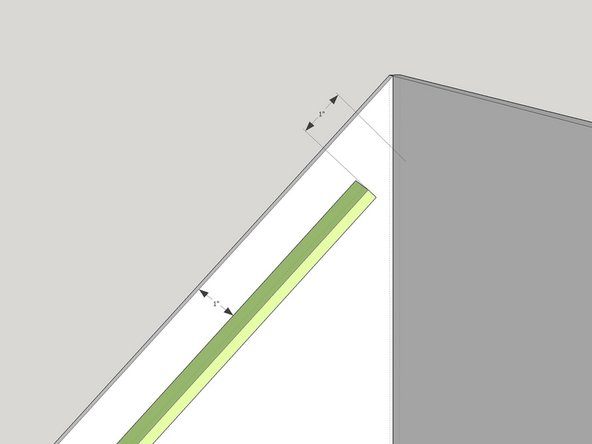
Tack P7 into place with a gap of 1" on both ends from the bottom sheet and back plate. This distance is important for the two P6 parts to be welded in next. there should also be a 1" depth in from the top edge of the sidewall.
-
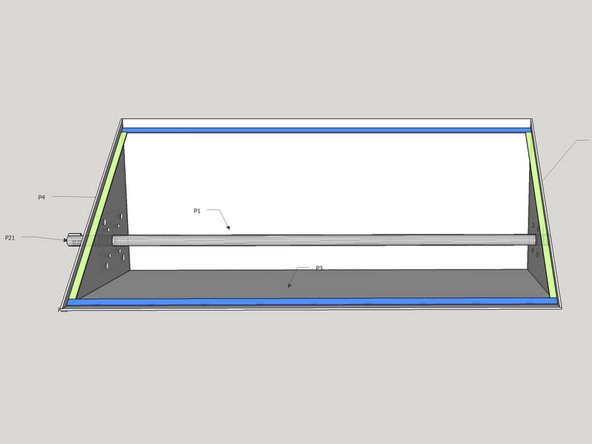
Put in both P6 parts and tack.
-
Tack in the second P7.
-
Fit lid P2, and if it fits, remove it and finish the welds on the seal.
-
Grind out the extra material around the welds on seams P6-P7 on the seal so the lid will sit flush on top.
-
-
-
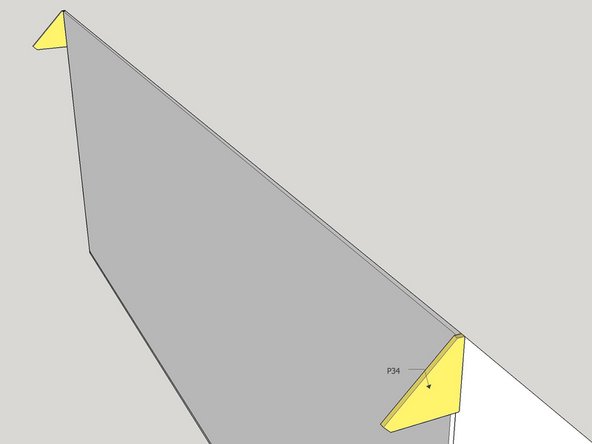
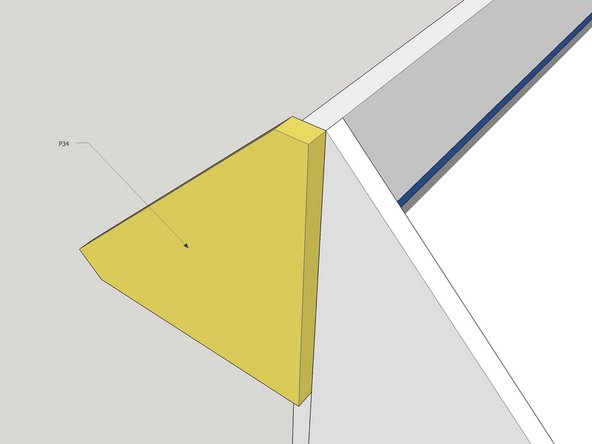
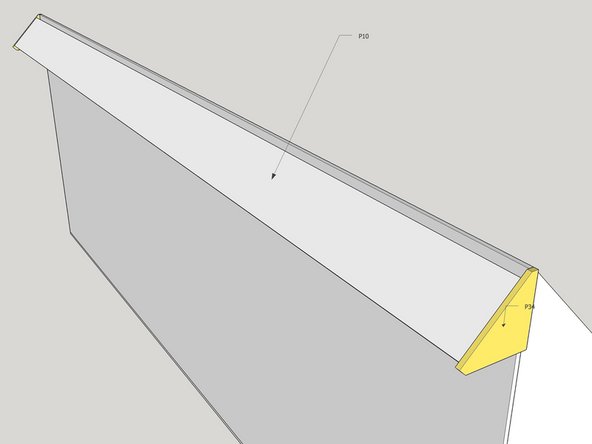
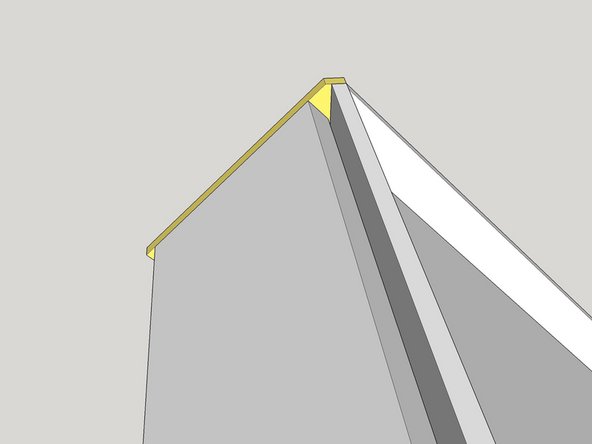
Tack 2x P34 ends onto the outside of the bucket, using p10 as a guide.
-
-
-
Tack p10 in place on the bucket
-
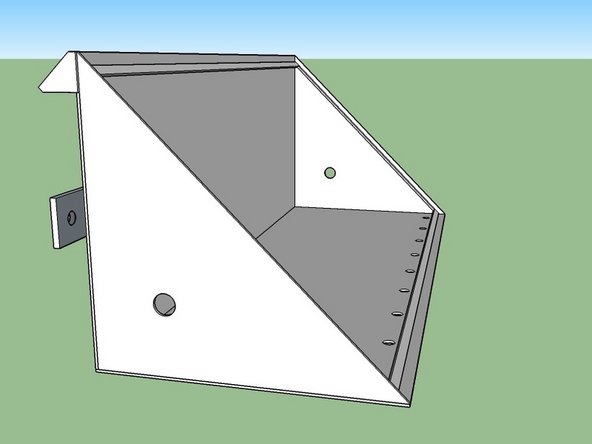
Finish the welds along all seams on the inside and outside for these parts
-