
Difficulty
Moderate
Steps
12
Time Required
- Shear tightening 12 steps

In Progress
This guide is currently being written. Reload periodically to see the latest changes.
-
-
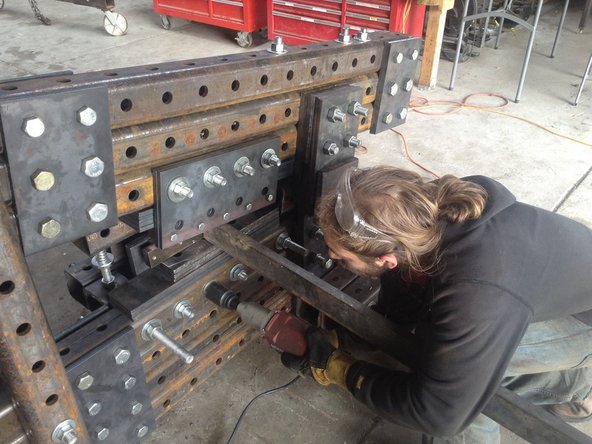
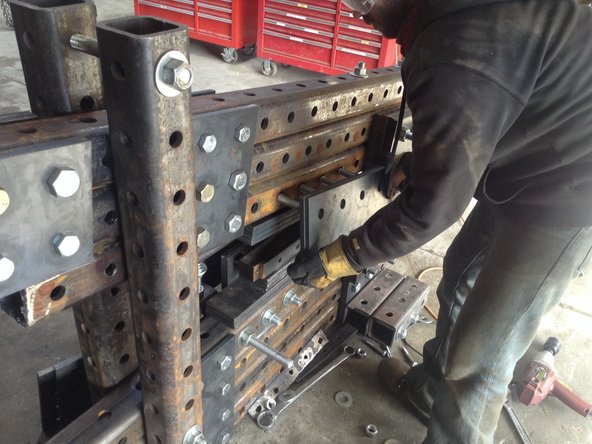
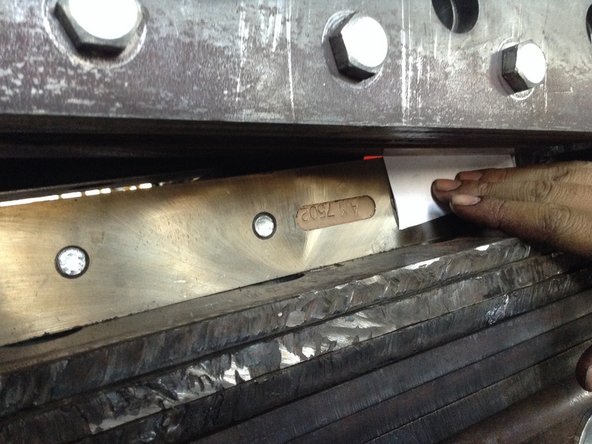
Take a solid helper bar and push down on the blade spacer assembly by wedging the bar in between the upper and lower blades
-
-
-
Tighten the upper blade holder plate bolts down so that the metal is firm against one another but still able to move. Do this on the side of the ironworker opposite of the table
-
-
-
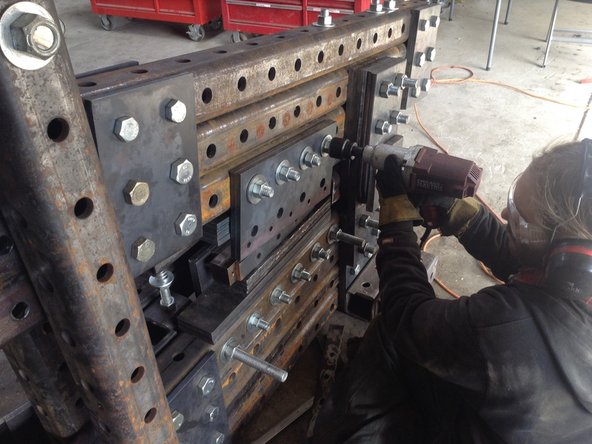
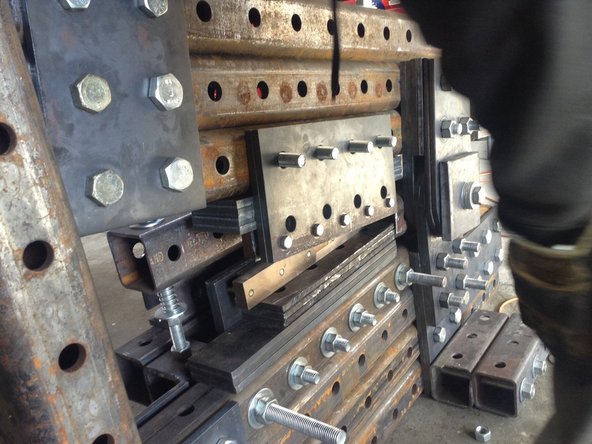
Repeat the same for the lower blade holder bolts
-
-
-
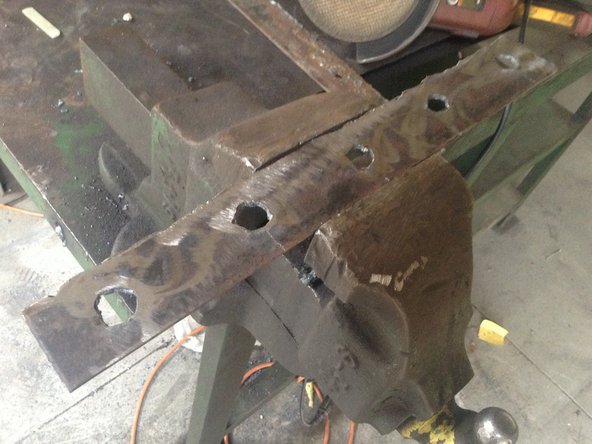
Cut Out a blade spacer plate as necessary
-
-
-
take off the blade to insert blade spacers as needed.
-
-
-
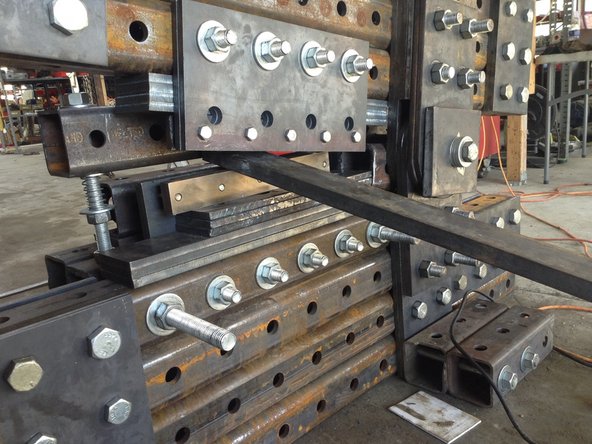
Take a blade you need to take off the entire blade mounting plate.
-
-
-
Mount the spacer plate in the blade assembly. Mount blade assembly back on the ironworker.
-
-
-
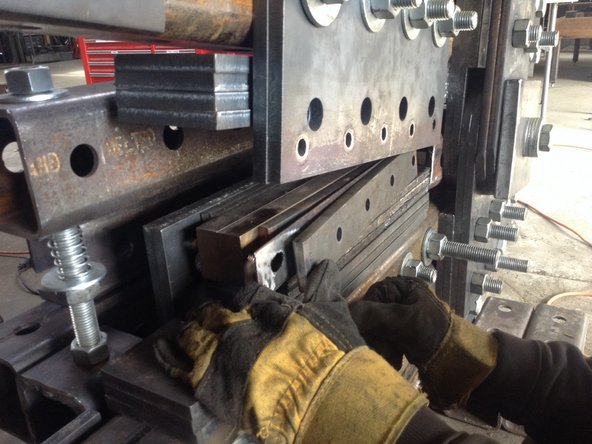
Place a spacer between the top blade and the bottom blade so that the spacer presses down on the blade to tension it into position.
-
-
-
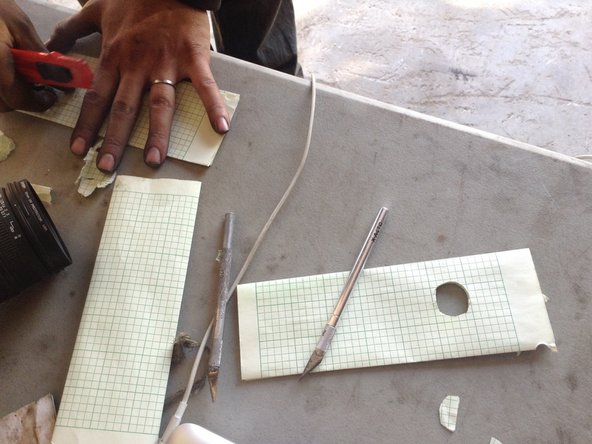
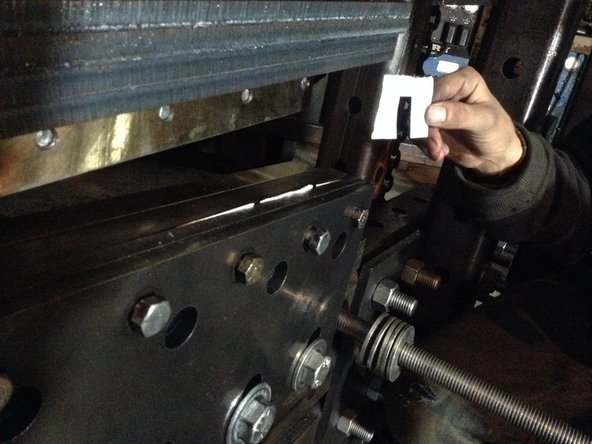
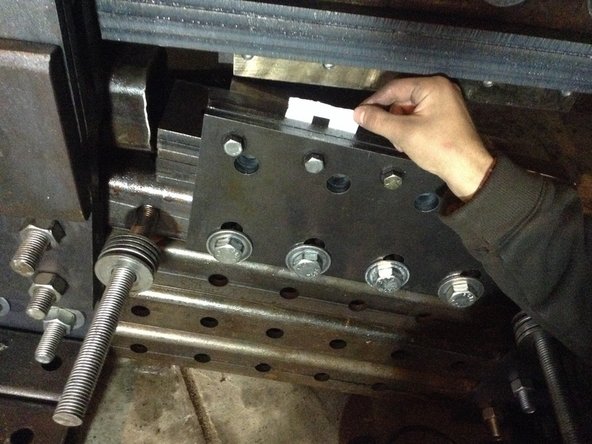
To finalize the spacing between the blades use paper is the final spacer adjustment. Do this for the top blade where access to blade mounting is easier
-
-
-
Insert The paper spacer under the blade mount plate
-
-
-
Test blade gap - 2-4 sheets thicknesses (printer paper). And you are ready to cut up to 1"x8" steel.
-
-
-
If blade gap varies more than 2 thousandths of an inch throughout, use spacers - sheets of paper, where each sheet is about 2 thousandths wide.
-


Cancel: I did not complete this guide.
One other person completed this guide.
