Difficulty
Moderate
Steps
4
Time Required
- CEB Walls 4 steps

In Progress
This guide is currently being written. Reload periodically to see the latest changes.

Private
This guide will not appear in search results and can only be viewed by team members!
Quiz
0
-
-
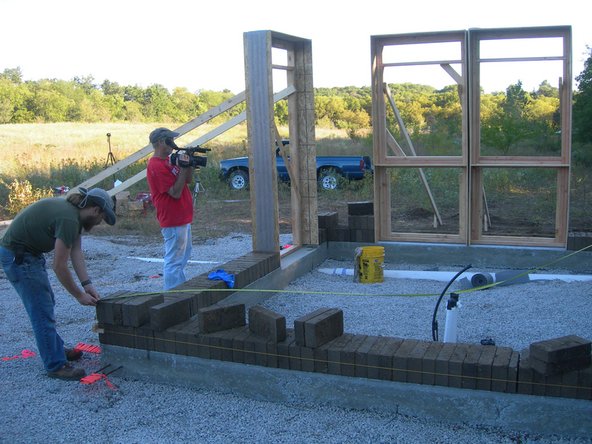
Place your first two bricks on each corner.
-
NOTE: The image does not show the sill seal foam gasket. In MH 2, we will be using a sill seal gasket between the foundation and the CEBs.
-
-
-
ABSOLUTELY CRITICAL QUALITY CONTROL STEP.
-
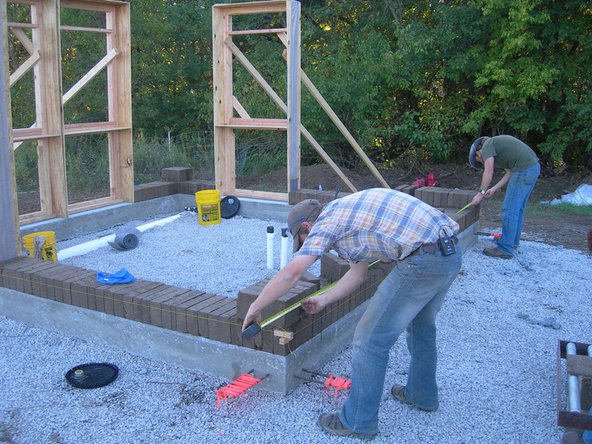
Measure the diagonals between outside corners of the CEBs. The measurement should be 19' - 9 1/2". For quality control, you can be no more than 1/4" off from this measurement.
-
As you start each course, you will measure both diagonals, as shown in Image 1. You will also measure the outside-to-outside length of the straight sides, as shown in Image 2. The length of each side must remain at 14' every course, with a tolerance of 1/4" or less.
-
-
-
Once you have the corner blocks positioned precisely as described in the previous step, you are ready to attach the mason's blocks with strings, which will help you keep the walls straight as they go up.
-
NEED TO TAKE PHOTO OF PLACING MASON'S BLOCKS, along with close-up of how they are used, how the string relates to the CEB wall, and how to sight along them.
-
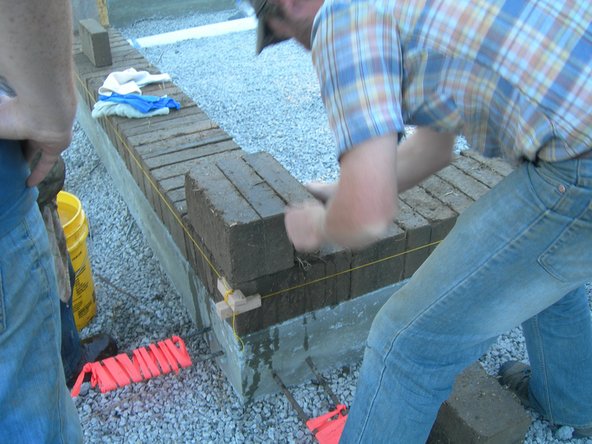
You can see the small mason's blocks that hold the yellow string.
-
In Image 2, you can see that the CEBs are being laid from the corners and from any frames towards the middle. This prevents a skinny block from ending up on the end. It also allows more people to lay blocks.
-
-
-
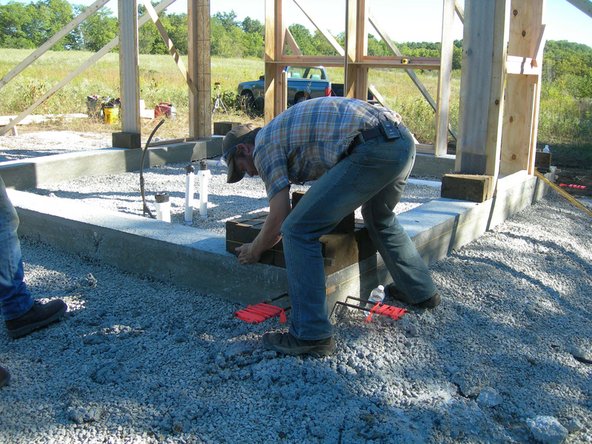
Once you have completed a course, begin the process again by placing blocks on each corner.
-
QUALITY CONTROL: Make sure that you run each course the opposite direction as the course below it, as shown in the picture. This creates a stronger corner.
-