
-
-
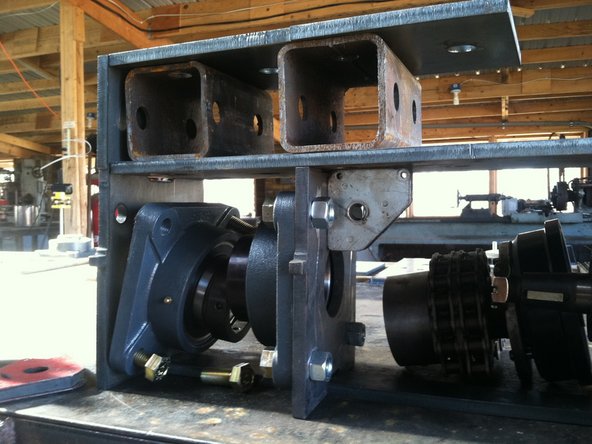
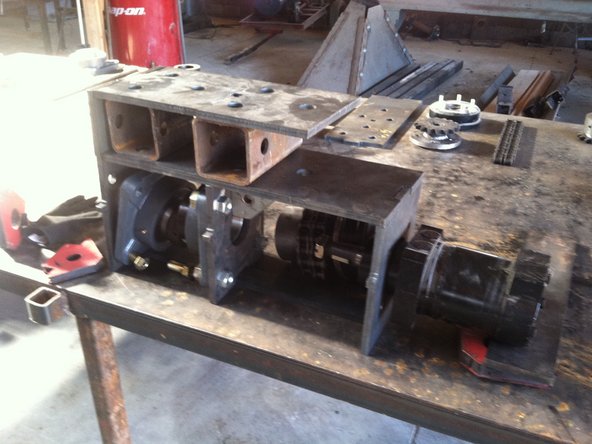
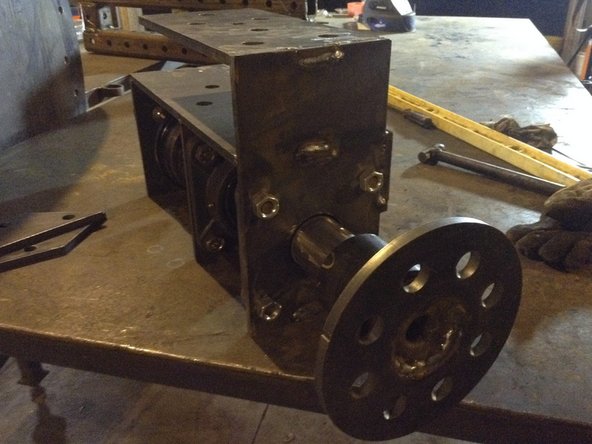
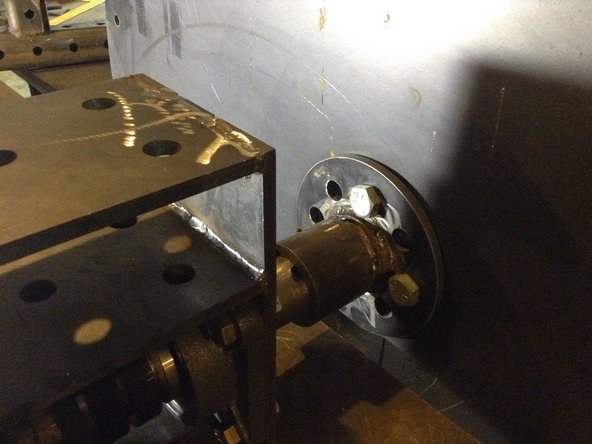
Attach bearing to "middle plate" (insert part number) as shown in image.
-
Be mindful of orientation of grease zerk relative to plate. Must remain accessible once unit is fully assembled.
-
-
-
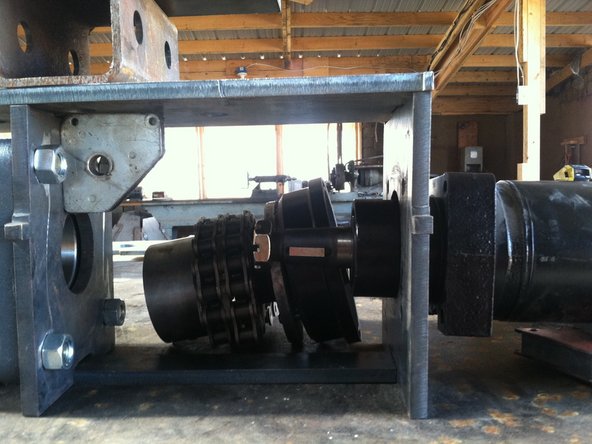
Attach bearing to "large bearing plate" (insert part number). This bearing faces inside the mount - towards the other bearing.
-
-
-
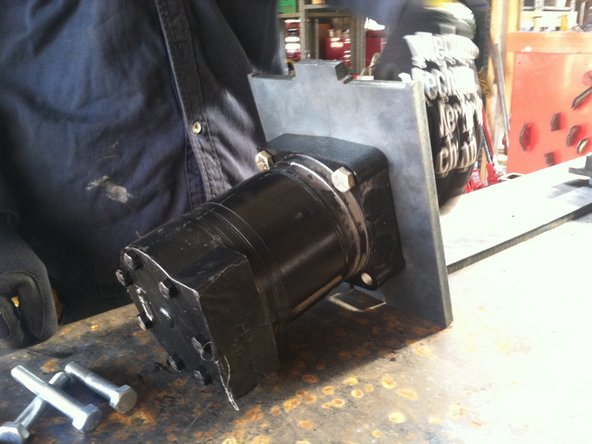
Attach motor to plate. (insert part number)
-
-
-
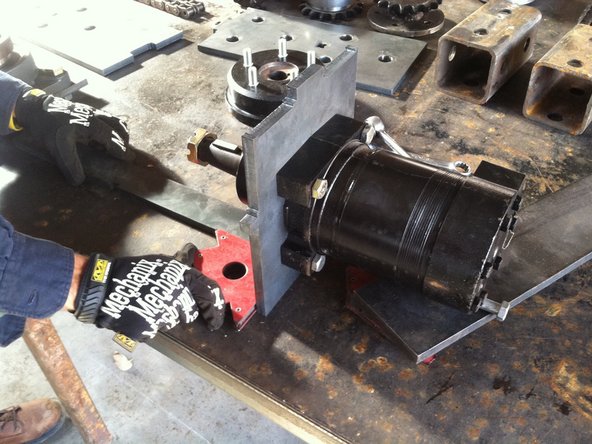
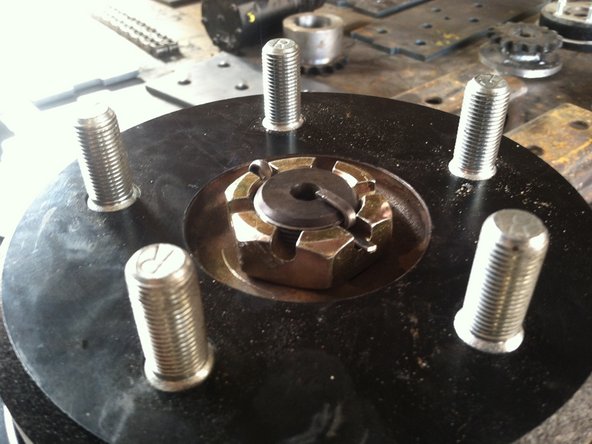
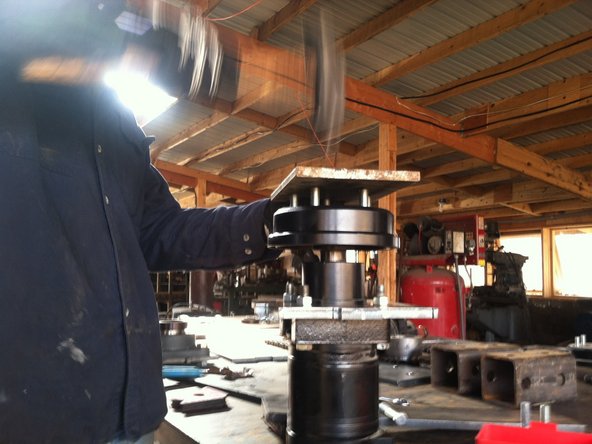
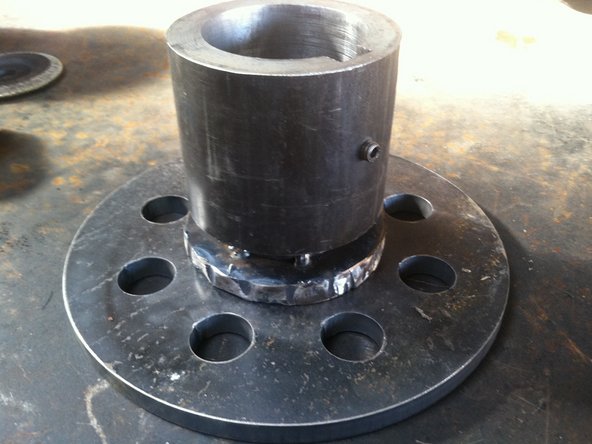
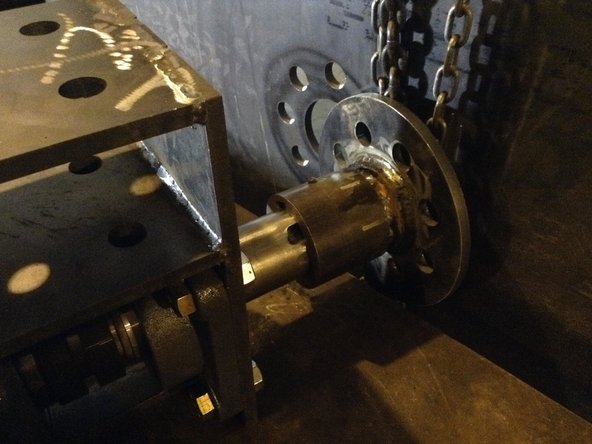
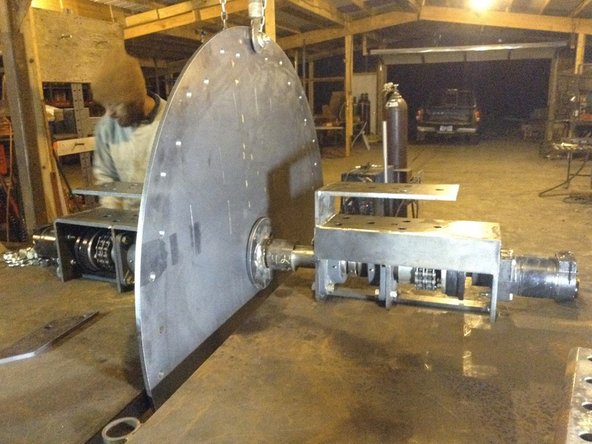
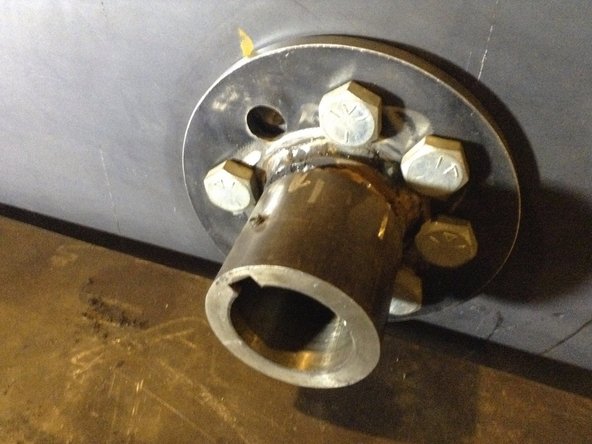
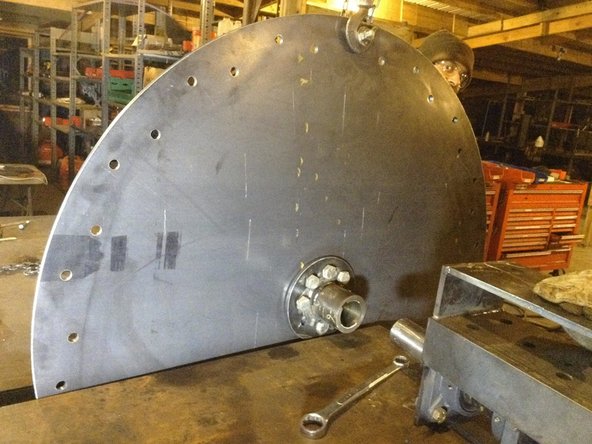
Place hub. Insert nut and pin to hold in place.
-
-
-
Info about the hub to plate or something
-
Should this be earlier?
-
-
-
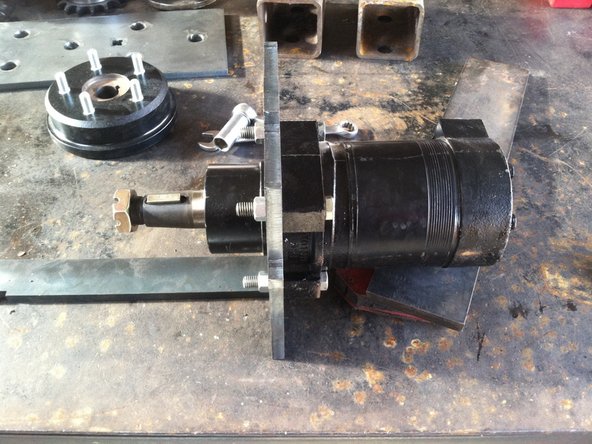
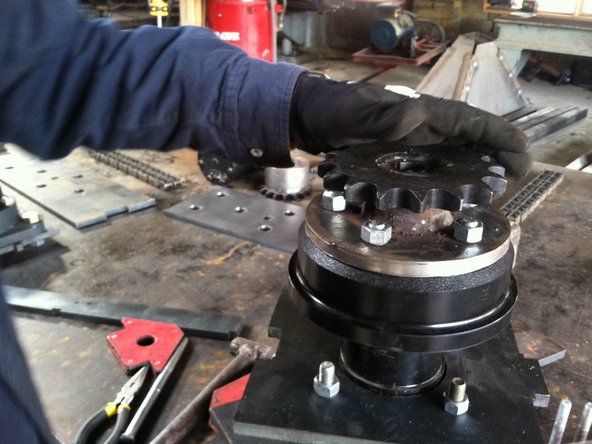
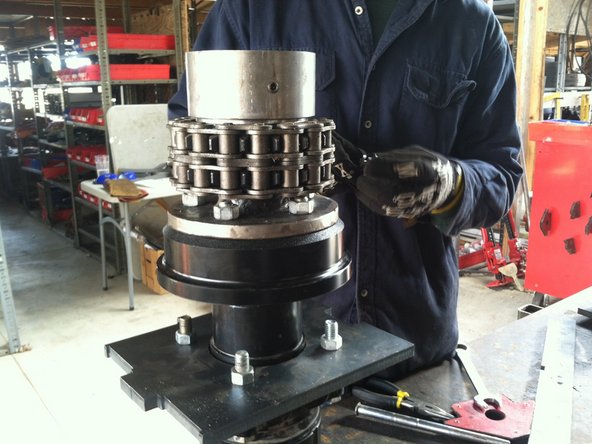
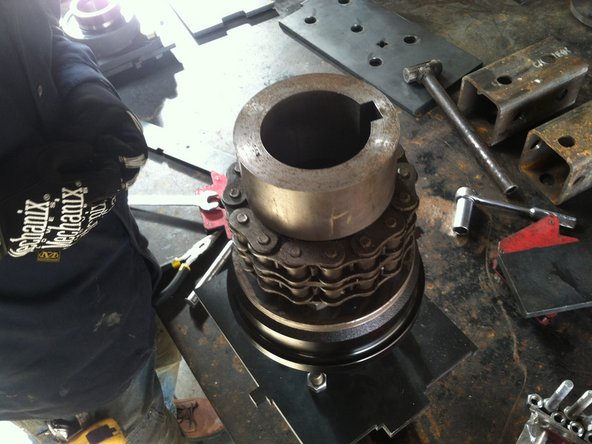
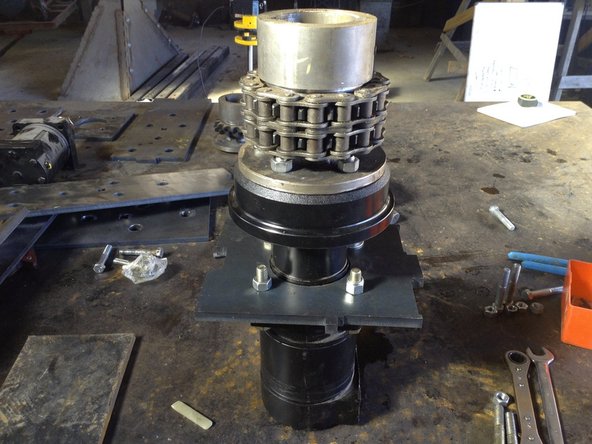
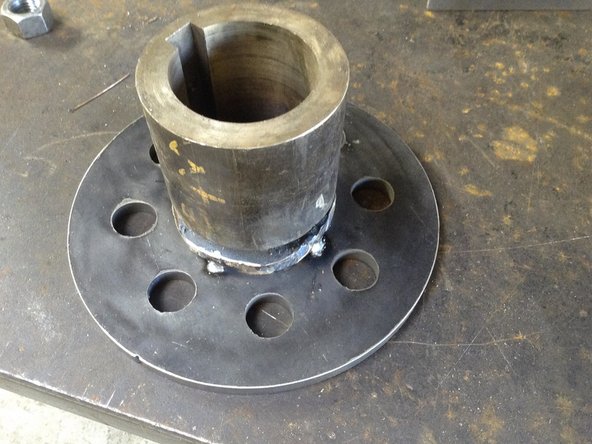
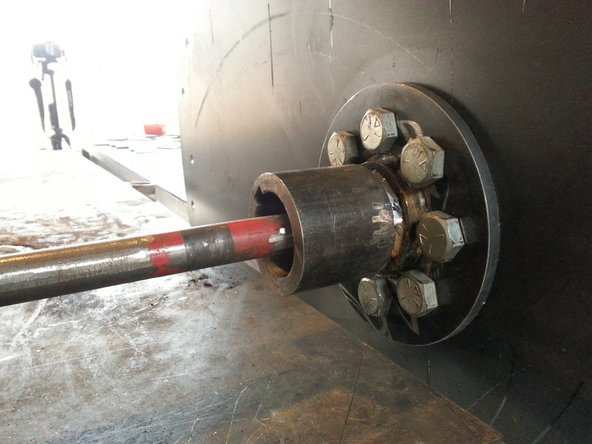
Place hub-to-chain-link coupler.
-
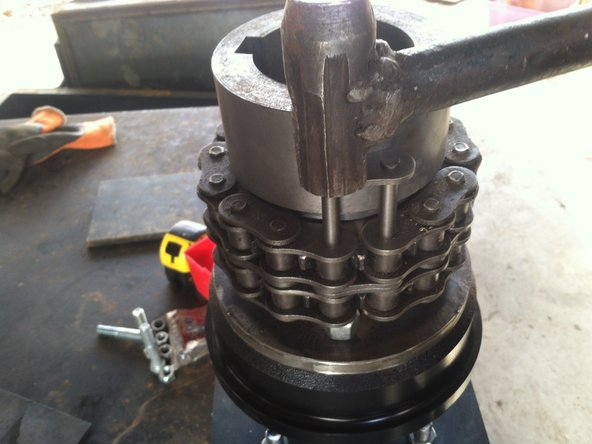
Tighten nuts in a star pattern.
-
-
-
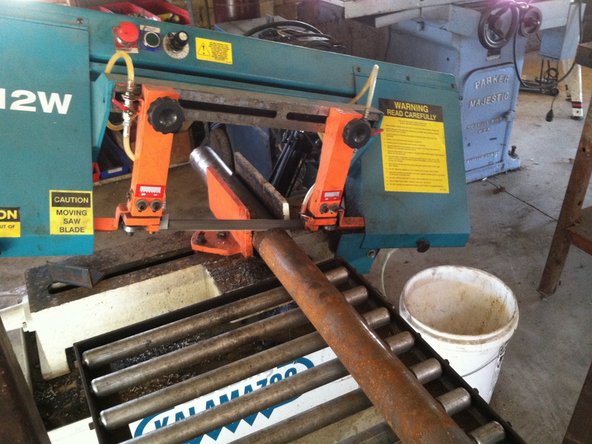
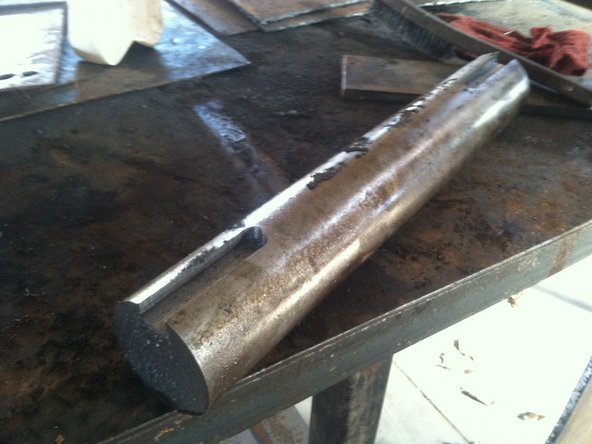
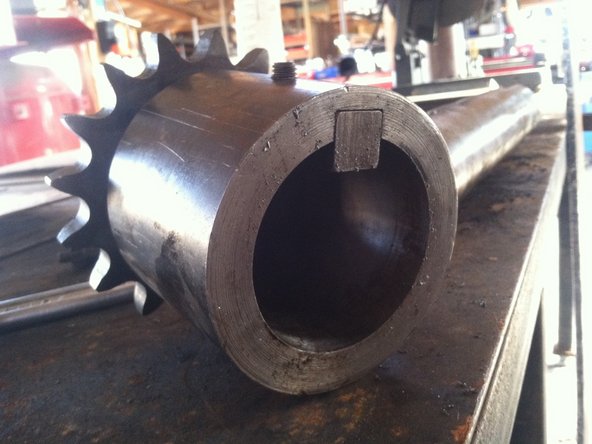
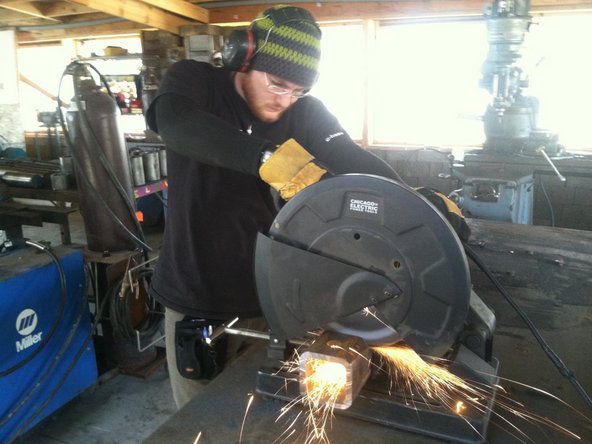
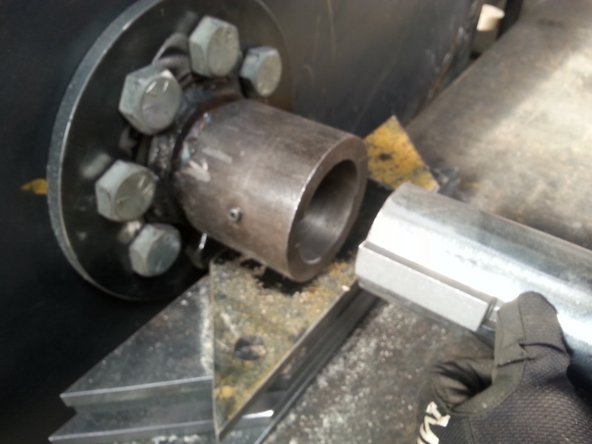
Cut 3" shaft with bandsaw
-
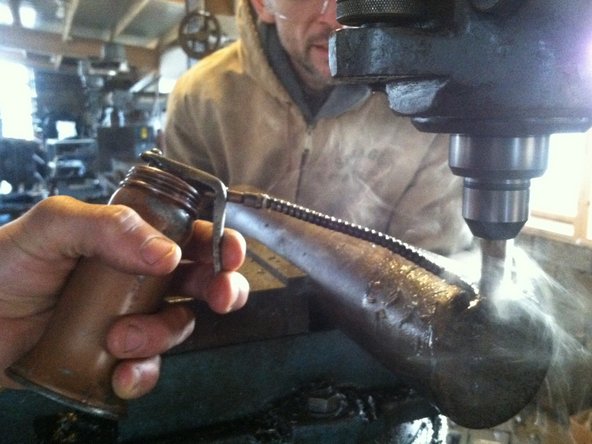
Mill hole
-
-
-
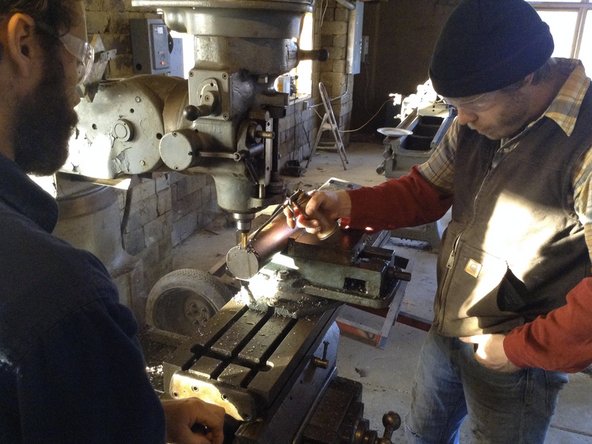
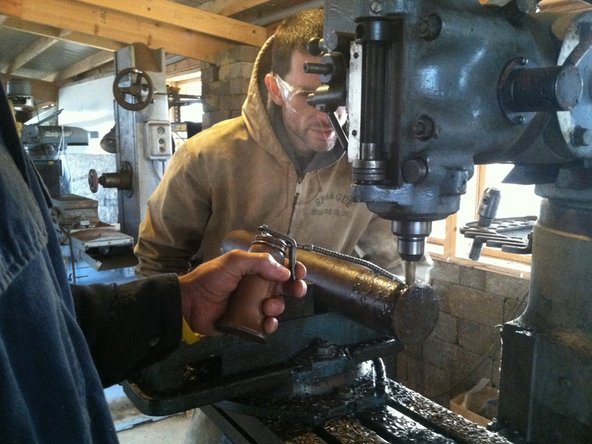
Mill slot in shaft
-
-
-
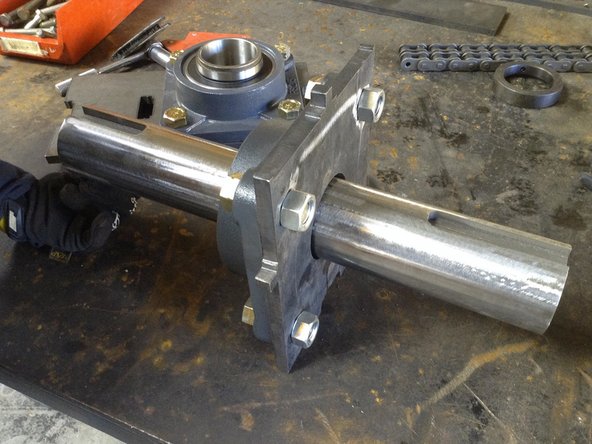
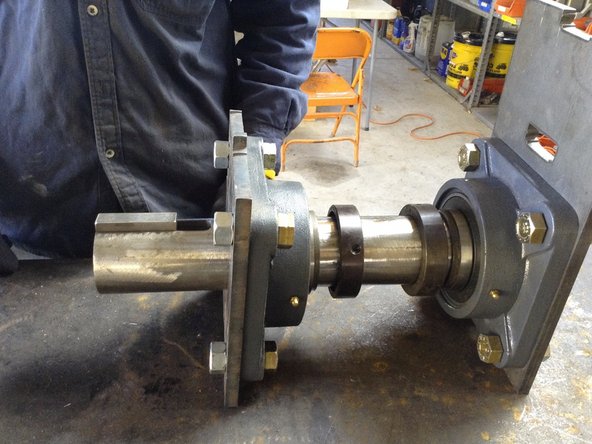
Feed shaft through bearings and lock colars
-
-
-
Step 10
-
-
-
Step 11
-
-
-
Insert wisdom here.
-
-
-
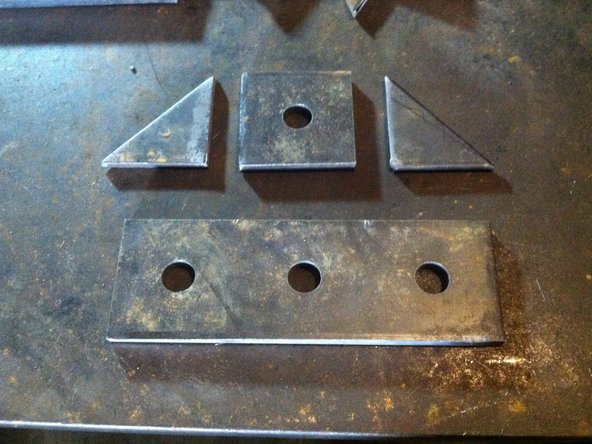
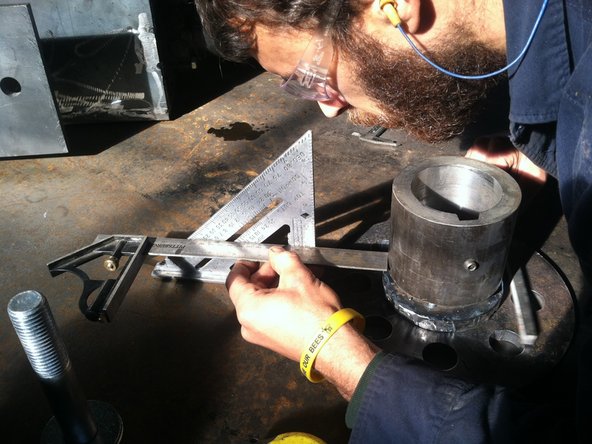
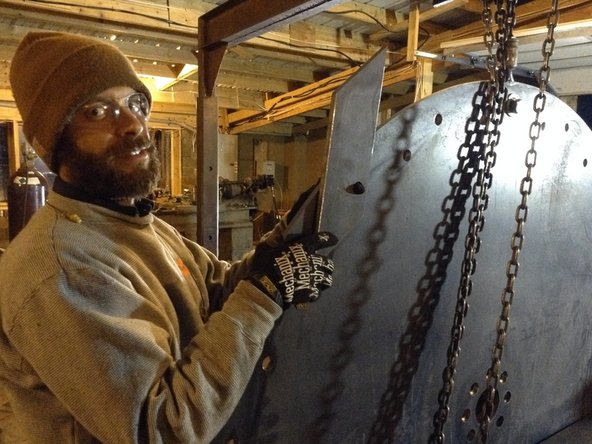
Ensure all parts are square and uniform
-
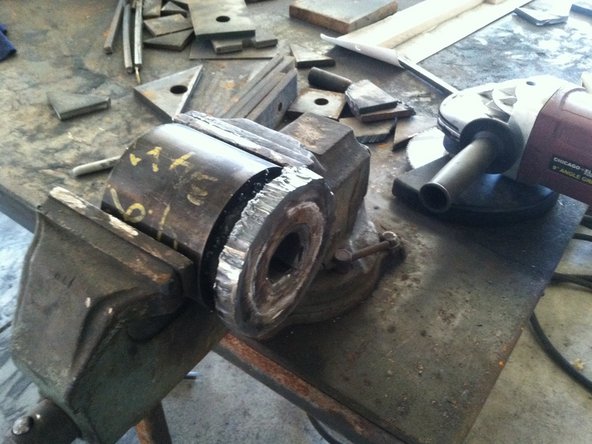
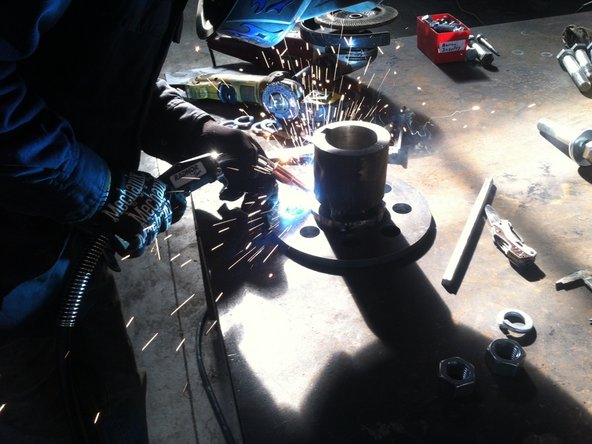
Tack weld
-
Make sure rotor turns freely without binding
-
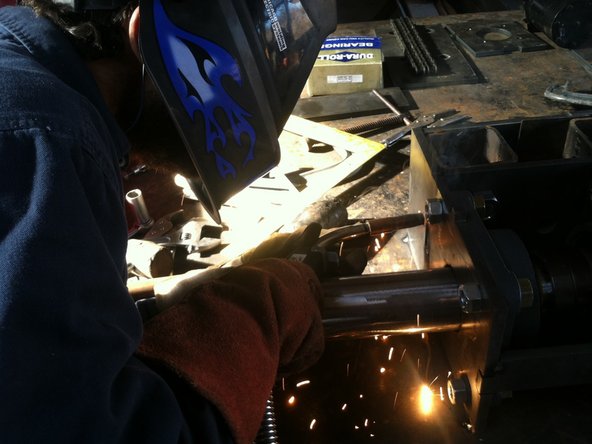
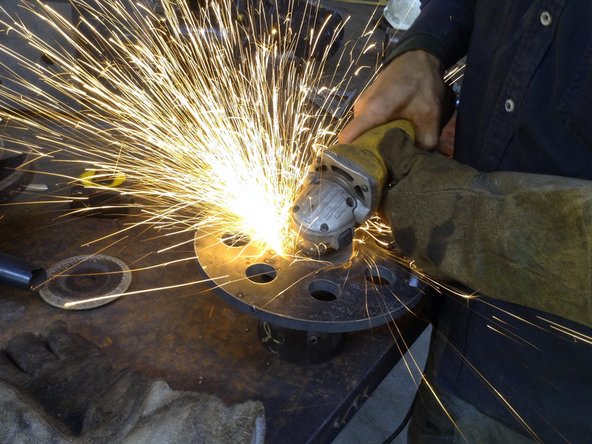
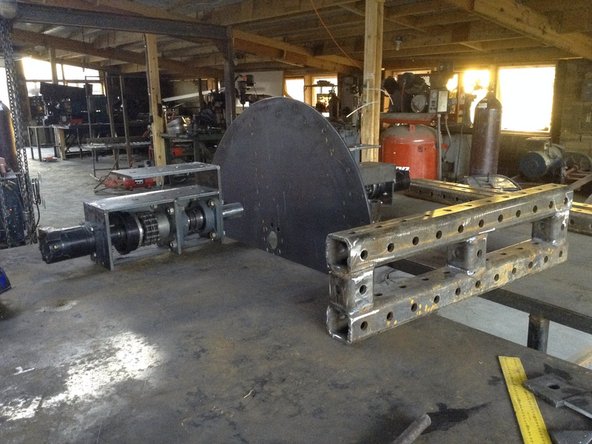
Finish welding entire unit
-
-
-
Insert wisdom here.
-
-
-
Insert wisdom here.
-
-
-
With the rotor and double chin coupler assembly put on the two bearings but place the key and the shaft first to join the shaft and the mowith the rotor and double chin coupler assembly put on the two bearings but place the key and the shaft first to join the shaft and the motor assembly.
-
-
-
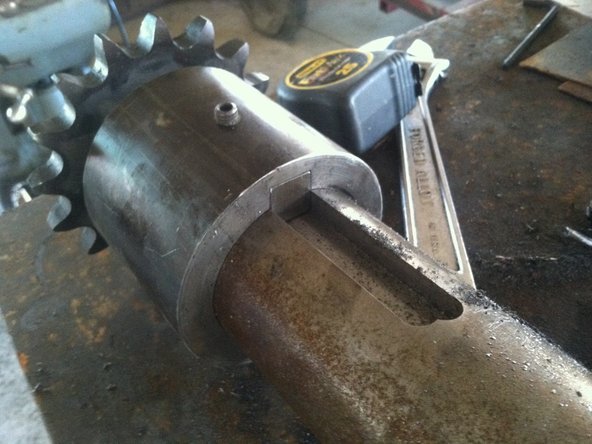
Use the clamp to hold the key in place as a rubber mallet is used to punch the shaft
-
-
-
Loosen the setscrew on the collar to allow the key to go in. It's a three-quarter inch key.
-
-
-
Punch the shaft all the way in and tighten down the set screw for the key.
-
-
-
Grind down key if the key doesn't fit.
-
-
-
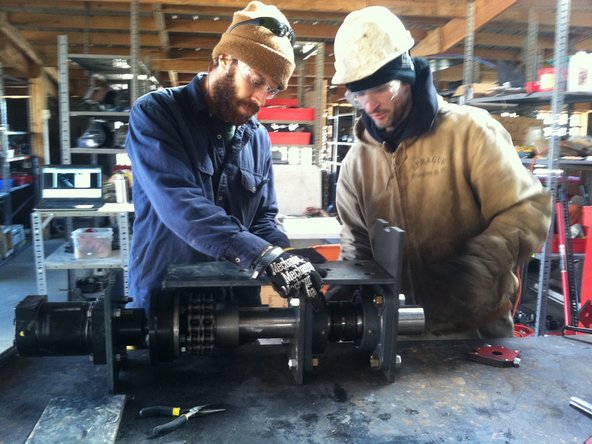
Use the top plate as a marker for punching in the shaft into the Universal Rotor Assembly - to adjust the distance of how far the have to go in
-
-
-
Put in the square tube spacers. Put in shims - about 1/32 by the front plate, and about 1/8" on the back shim.
-
-
-
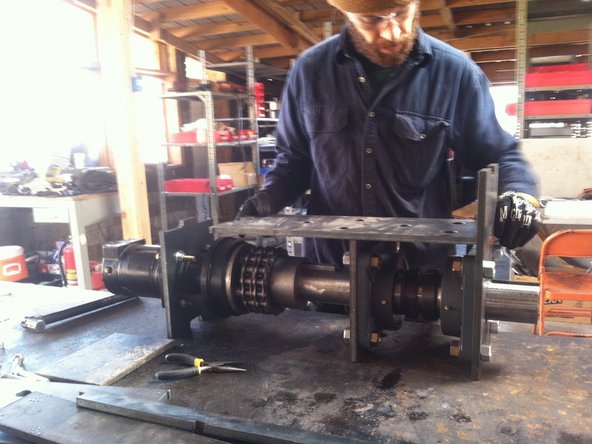
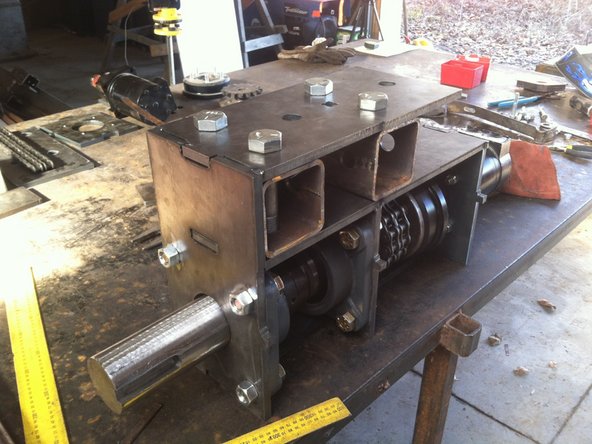
Make sure bottom plate is in place. Square up the entire structure.
-
-
-
Tack the entire assembly.
-
-
-
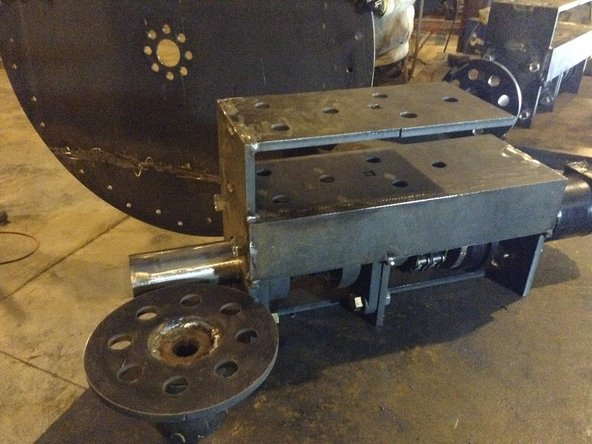
The motor mount plate has the nub on the opposite side of the case drain
-
-
-
Insert wisdom here.
-
-
-
Insert wisdom here.
-
-
-
Insert wisdom here.
-
-
-
Insert wisdom here.
-
-
-
Insert wisdom here.
-
-
-
Insert wisdom here.
-
-
-
Insert wisdom here.
-
-
-
Insert wisdom here.
-
-
-
Insert wisdom here.
-
-
-
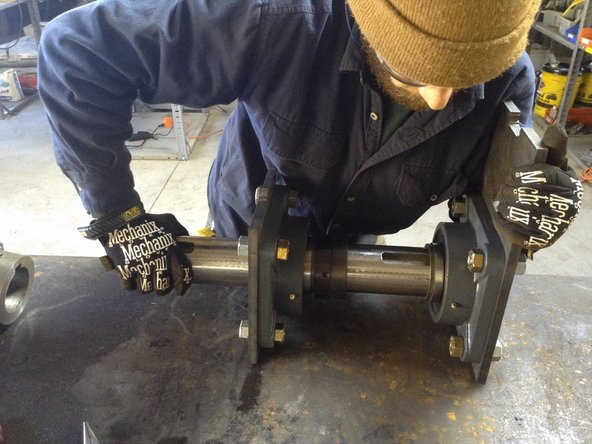
Use shaft to align both hubs prior to tightening hubs to plate.
-
-
-
Insert Key stock in Shaft
-


Cancel: I did not complete this guide.
One other person completed this guide.