Difficulty
Moderate
Steps
19
Time Required

In Progress
This guide is currently being written. Reload periodically to see the latest changes.
Quiz
0
Introduction
This guide will give you a logical step by step procedure for construction of the Lasersaur Door Frame
-
-
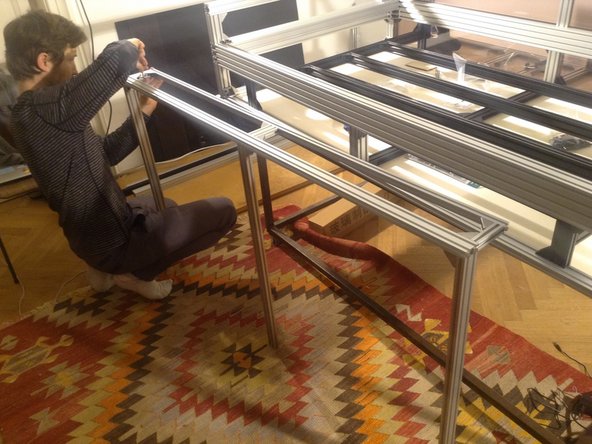
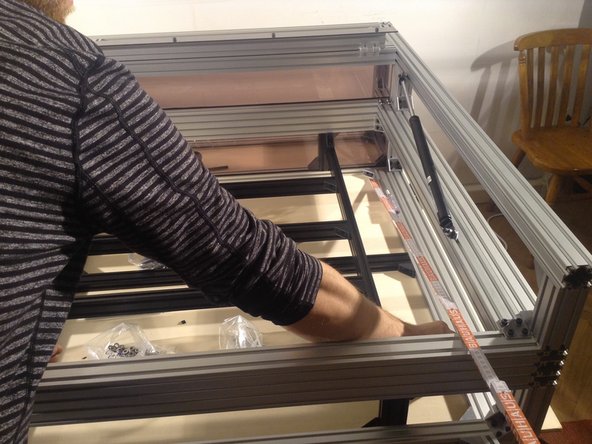
Begin preparing door frame.
-
-
-
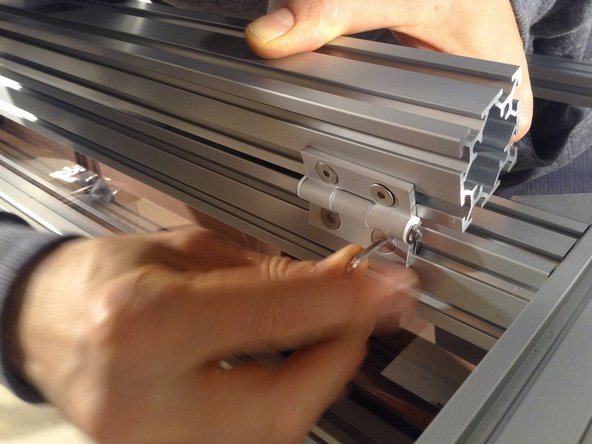
Install 3 hinges - two towards the ends, and one in the middle, by eye.
-
-
-
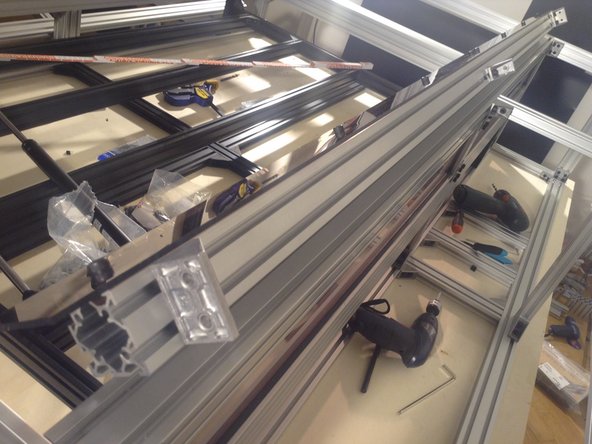
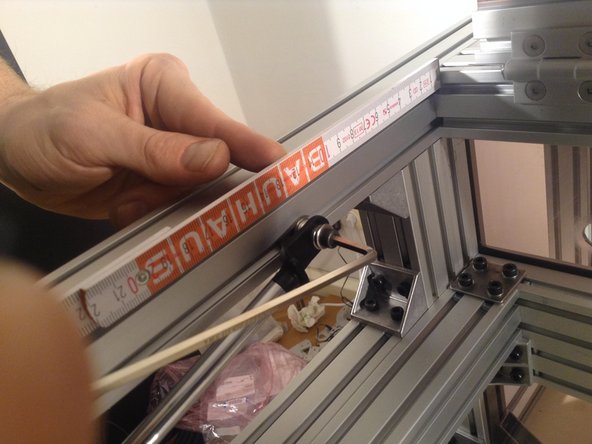
Mount the 4040 extrusion top door frame, and it should be 2.8 cm off edge on each side.
-
-
-
When mounting the 4040 extrusion - push it all the way up so that hinges can close fully. The hinges must pushed as far to the corner of the extrusion as possible.
-
-
-
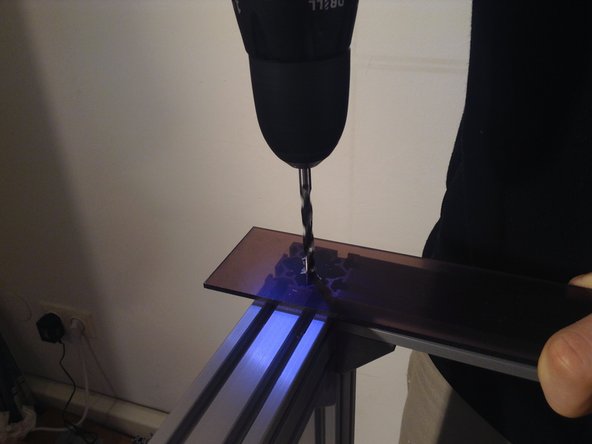
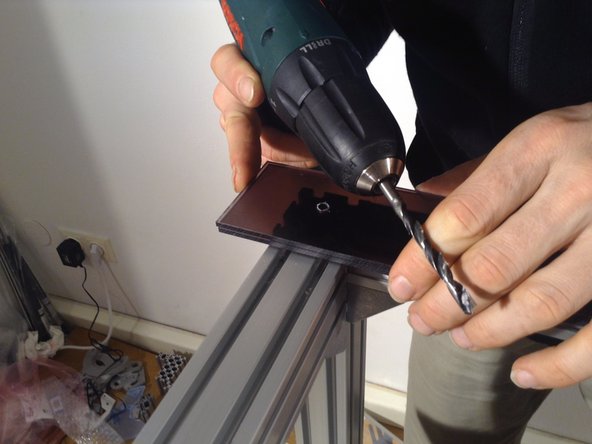
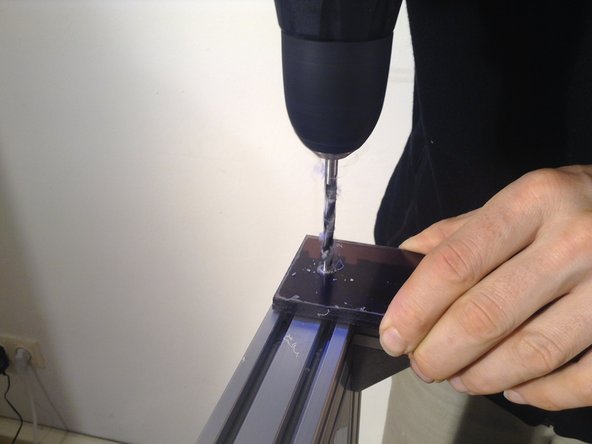
The two 6 cm wide tinted glazing pieces serve as a seal for the door. Mark hole locations and drill bolt holes through these, and mount to the hinged 4040 extrusion.
-
-
-
Match drill through the second piece of glazing.
-
-
-
Take the protective cover off the glazing.
-
-
-
Bolt the seals to the 4040 extrusion.
-
-
-
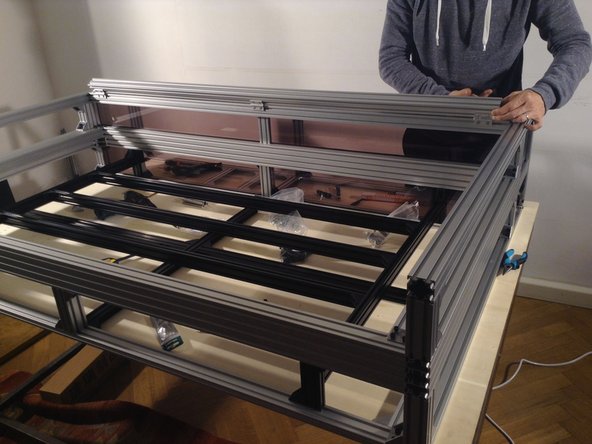
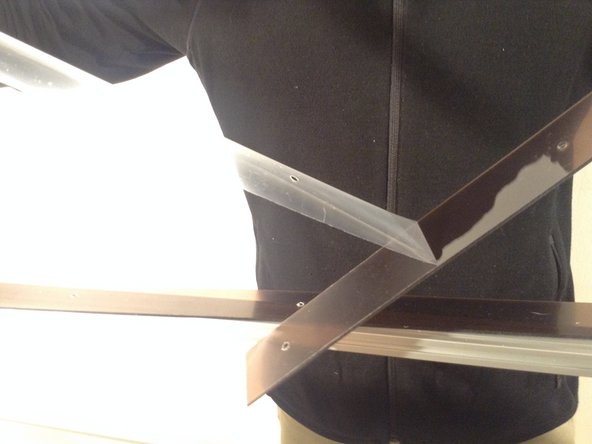
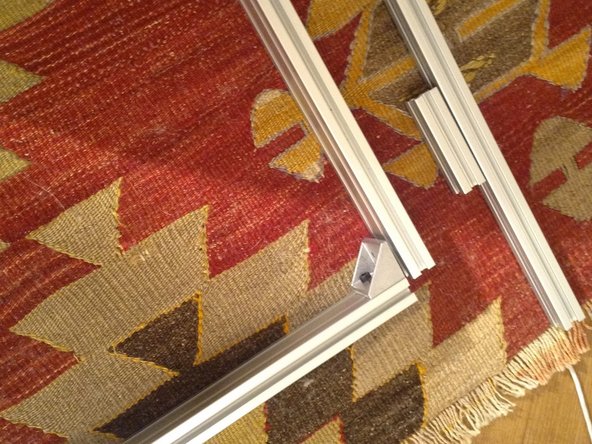
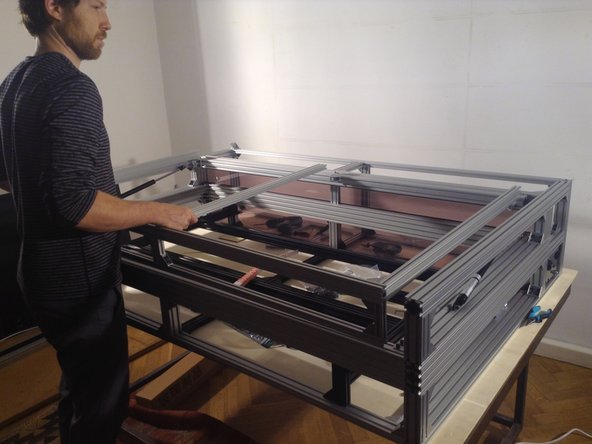
Begin assembling the door frame with corner brackets.
-
-
-
Build the verticals of the door frame.
-
-
-
Prepare door for mounting,
-
-
-
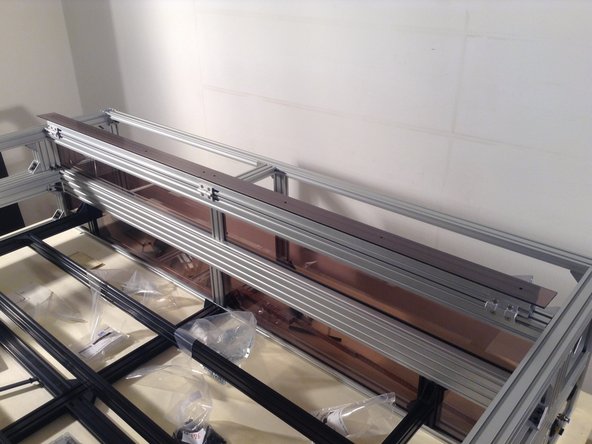
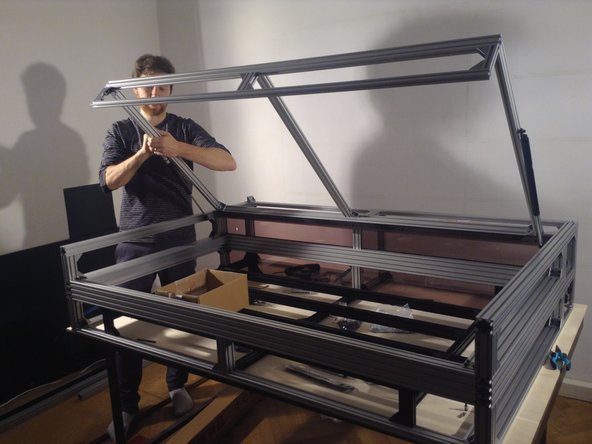
Place door on top of the gantry frame.
-
-
-
Mount 3 door mounts to the 4040 hinged extrusion. Use double brackets on the ends and a single bracket in the middle.
-
-
-
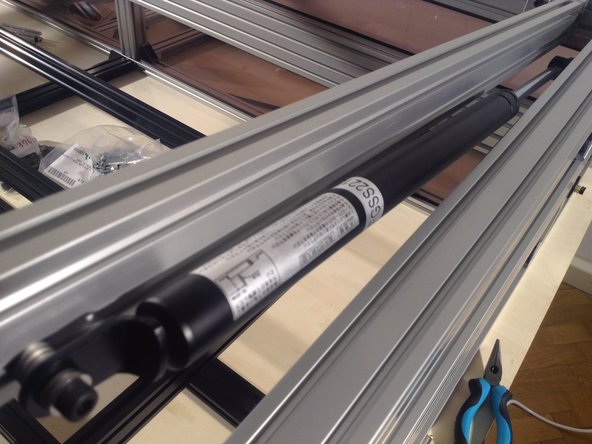
Mount springs.
-
-
-
Use 2 larger washers and 5 smaller washers on a 20 mm screw, and then 3 more larger washers.
-
-
-
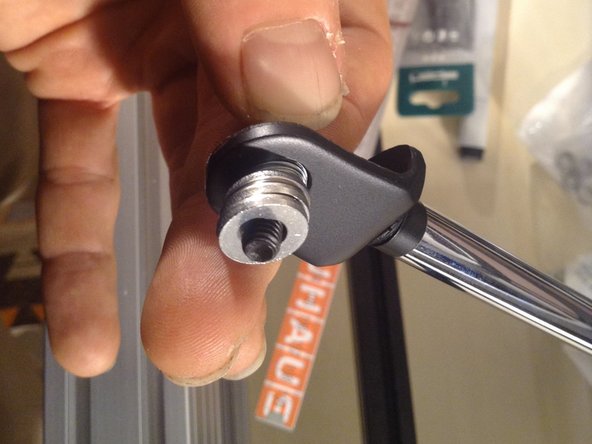
Mount the rod end to the inner part of the outer 4040 extrusion.
-
-
-
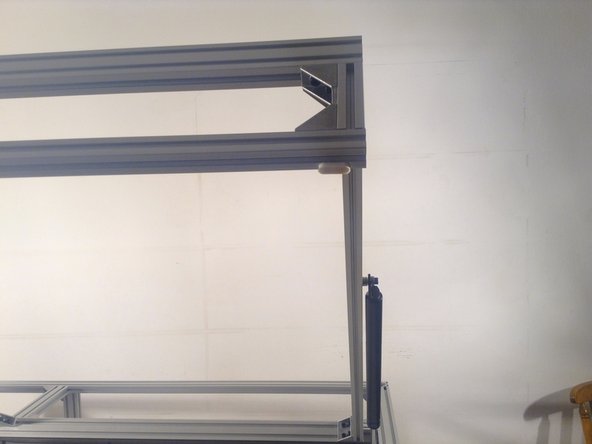
Mount the base end of air spring similarly.
-
-
-
Select the position of base end such that the door is open to a comfortable height at the maximum spring extension.
-
-
-
Glue sponge shock absorbers on the underside of the door.
-