Difficulty
Moderate
Steps
4
Time Required

In Progress
This guide is currently being written. Reload periodically to see the latest changes.

Private
This guide will not appear in search results and can only be viewed by team members!
Quiz
0
-
-
Gather parts and tools for Extruder Assembly
-
Photo 1 - 1.5mm Allen Driver
-
Photo 2 - 2.5mm Allen Driver
-
Photo 3 - 13mm Wrench
-
-
-
INSTALL IDLER BOLT
-
Install M3 x 25 SHCS, M3 Washer and M3 Nut into the Idler assembly
-
Only put the screw in until the tip is flush with the nut
-
TIP: Set M3 Nut into the hexagon cutout and hold with your finer to install the bolt
-
-
-
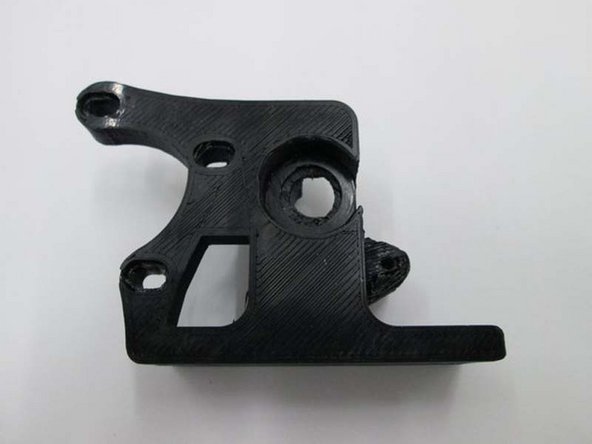
INSTALL EXTRUDER WASHER INTO BODY
-
Place the printer extruder washer into the extruder body
-
-
-
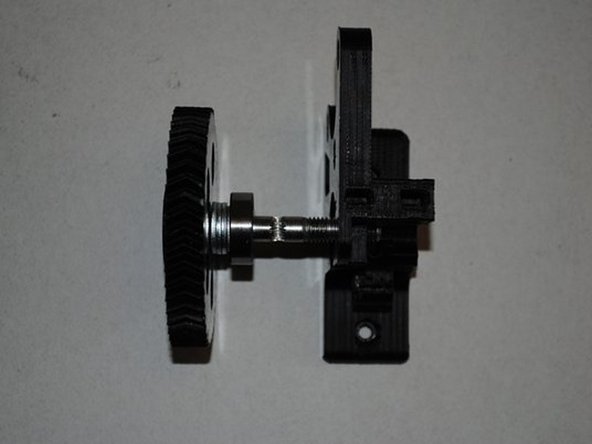
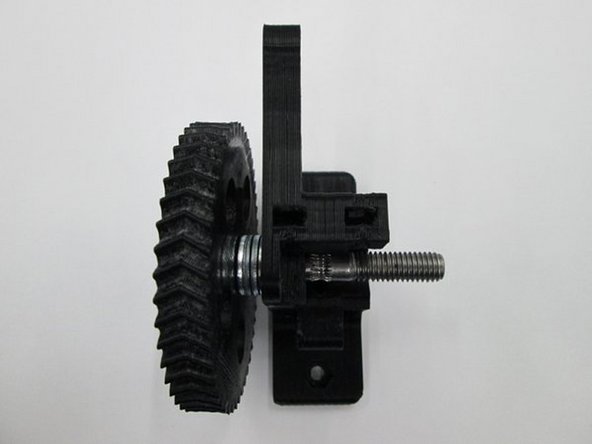
INSTALL GEAR, BOLT AND FIRST BEARING
-
Install 4 x M8 washers onto the hobbed bolt then a 608 bearing.
-
Once installed, does the hobbing on the bolt line up with the small hole going through the extruder body?
-
If you need to adjust it's location, you can add either a 0.50mm or 1.0mm shim washer to get the correct spacing.
-
Does the hobbing line up with the hole in the center?
-