Difficulty
Moderate
Steps
6
Time Required
02:00:00

User-Contributed Guide
This guide is not managed by the site's staff.
Quiz
0
-
-
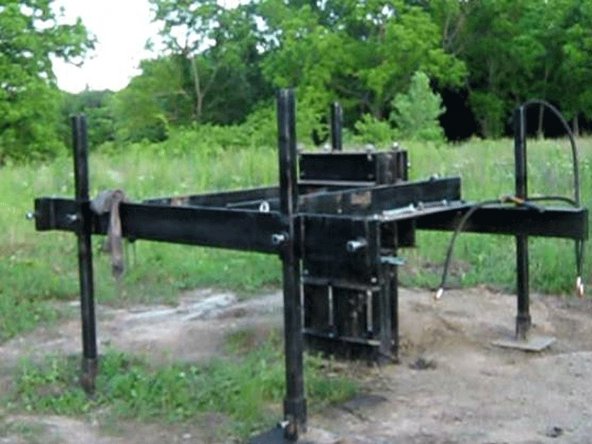
Set the main frame somewhere on level ground where you have access to a welder and torch and where you have at least an 8' radius of empty space. The CEB takes up a lot of room!
-
Set it so the cylinder pin is near the ground.
-
-
-
Gather the secondary arms, the legs and the feet.
-
Onto the end of each leg, tighten a foot to one of its ends. Get the bolt tight enough so it won't fall off.
-
Insert one leg/foot into each of the outside leg holders on the secondary arms.
-
Adjust the height so that the top of the secondary arms will be very close to the height at the bottom of the primary arms.
-
Tighten the bolts in the leg holders so they are snug, but not too tight.
-
-
-
Clamp them on the drawer members on the frame so that they are in the proper orientation. See image.
-
If the machine is going to tip over, have a friend move the assembled secondary arms to support it so it doesn't tip.
-
-
-
Loosely bolt the 2 sets of arms together.
-
You may need to loosen the clamps on the primary arms. This is OK.
-
Make sure the arms are all square to eachother.
-
Tighten all bolts.
-
Loosen the clamps attaching primary arms to the frame.
-
Square the arms to the frame.
-
-
-
Torch the holes in the frame through the holes in the primary arms.
-
Make sure bolts go through all holes
-
Remove the clamps and grind away any slag
-
Bolt the primary arms to the frame.
-
-
-
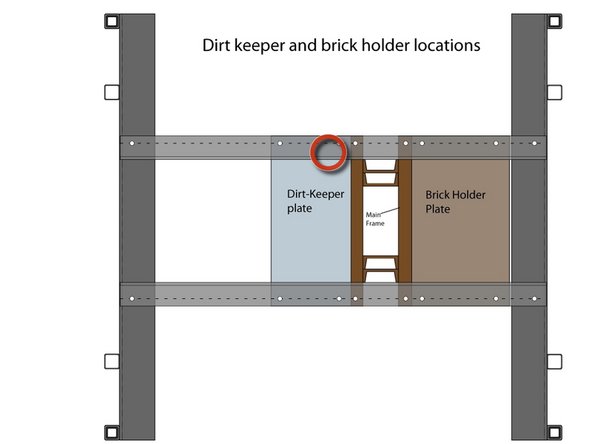
The plates go on the bottom side of the primary arms.
-
If not all the bolts go through, torch away whatever is preventing it.
-
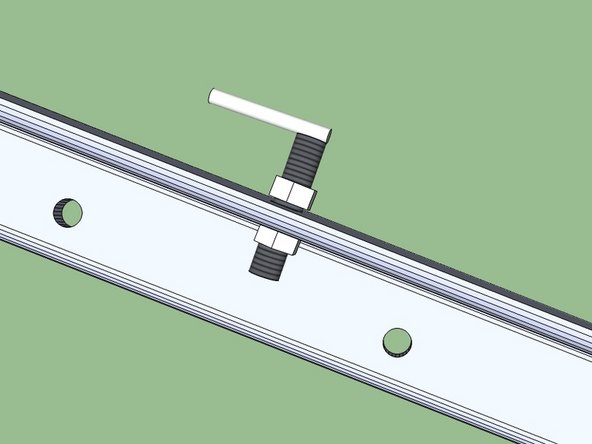
Bolt them down so the bolt head is on the top. Tighten the nuts snug.
-
Install the sensor on the right primary arm. Its location is circled in the diagram.
-