
-
-
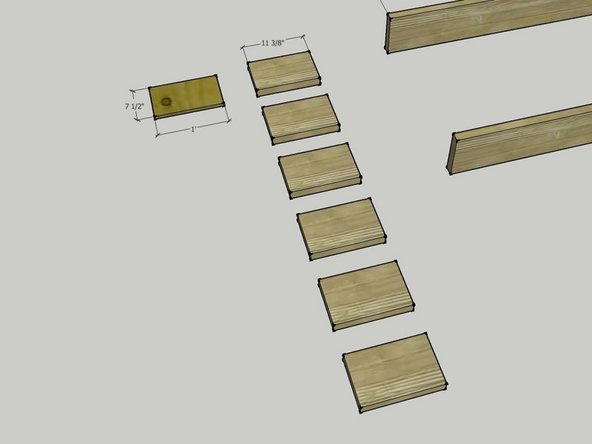
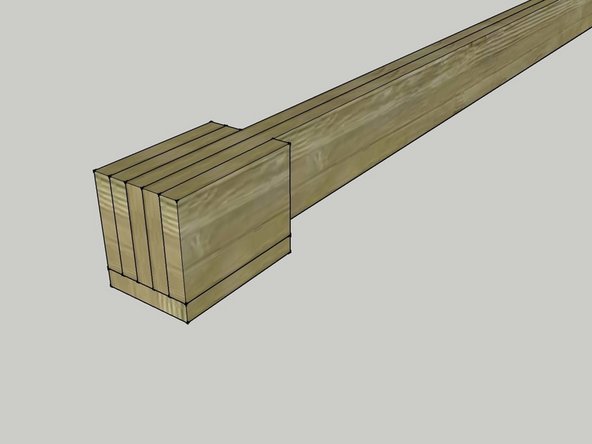
Make 6 short 2x8 pieces for both ends of each beam, each 11 3/8" in length. Cut these from 8' 2x8s.
-
You will make 24 of these pieces total.
-
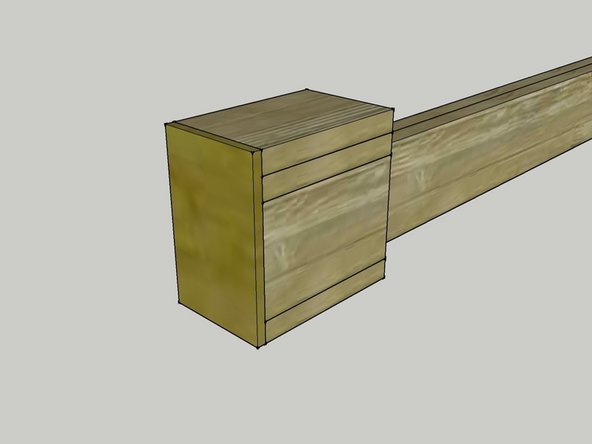
Also make 4 end caps, one for each end of both beams. You can make this from the left-over sheet material from the door or window modules (5/8" plywood).
-
The plywood endcaps measure 7 1/2" by 12"
-
-
-
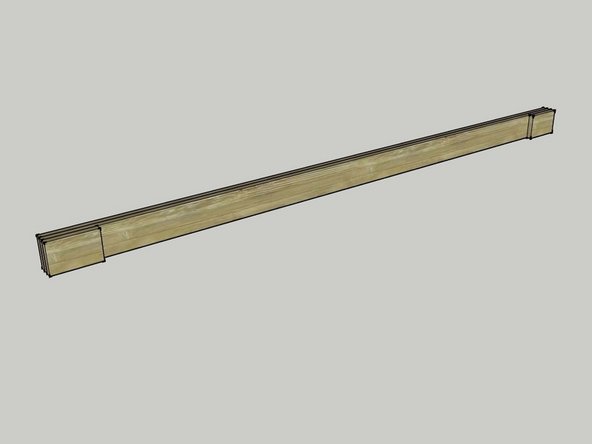
Add a second block to each end of both beams as shown in the image. Keep the end of the block flush with the end of the beam and one side of the block flush with the first block that you attached.
-
Put two 3" screws through the bottom block and into the block that you added in the previous step. Put another 3" screw into the beam itself.
-
-
-
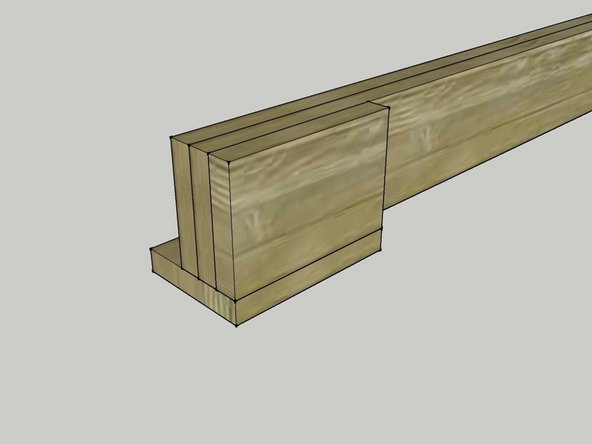
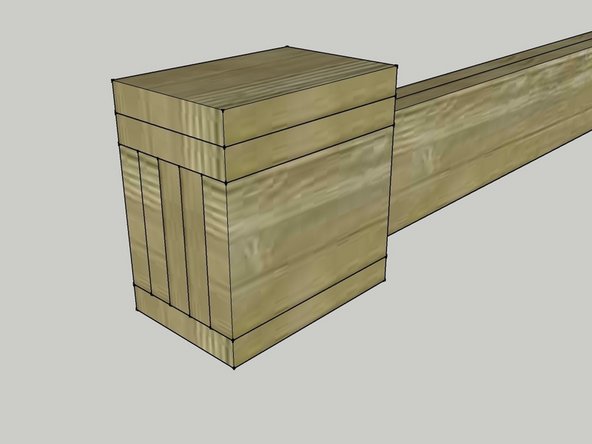
Add two more of your blocks to the other side of the beam.
-
Attach one and then the other using two 3" screws each.
-
Keep the ends flush with the end of the beam and the other blocks.
-
The second block you add should end up flush with the other side of the bottom block.
-
After screwing these two blocks into the beam, add two 3" screws through the bottom block and into the outside block that you just added.
-

Cancel: I did not complete this guide.
One other person completed this guide.