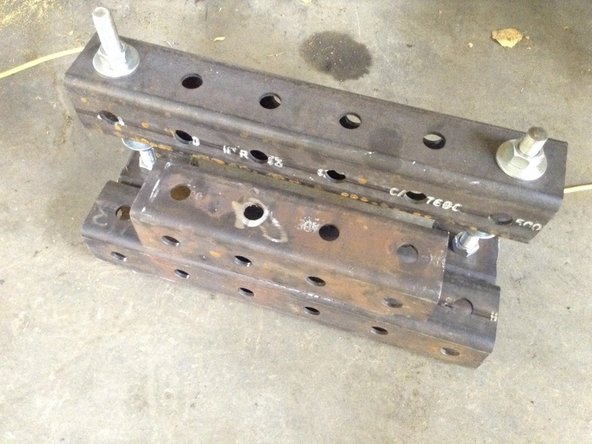
1. Parts:
    • Parts:

    • 2 1 hole 0.5" tube

    • 2 1" x TODO" threaded rob (to support clamp)

    • 4 1" nuts

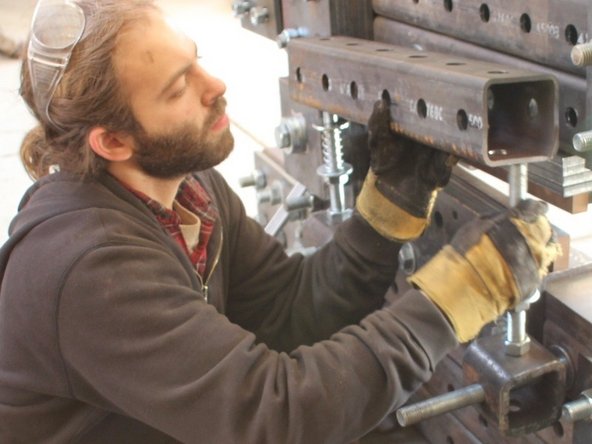
    • Put a nut near the end of each threaded rod.

    • Stick the little bit after the nut through one side of a 1 hole tube.

    • Bolt it on the inside of the 1 hole cube so that there's room for another bolt to go through the other holes.

    • Repeat a second time.

  2. Parts: 2 1" nuts
    • Parts:

    • 2 1" nuts

    • 4 1" washers

    • 2 1" springs

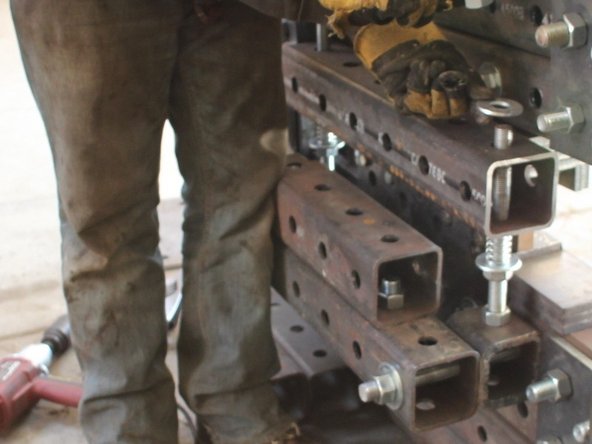
    • Put nuts on the bolts that are sticking up, about 2 inches above the cubes. Put washers on top of the nuts.

    • Put springs over the bolts and then another pair of washers.

    • All the pictures in this guide show us building the table directly on to the frame, but you can just as easily build it separately and attach it to the frame at the end.

  3. Parts: 1 6 hole, 0.25" tube 2 1" washers
    • Parts:

    • 1 6 hole, 0.25" tube

    • 2 1" washers

    • 2 1" nuts

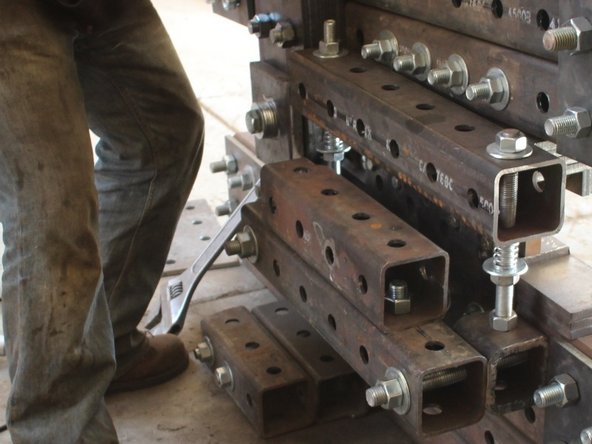
    • Put the tube onto the upright bolts. Put washers and nuts on the bits of bolts sticking through this tube. This'll be the working clamp

    • The springs should push the tube up against the top nuts but you should be able to push the tube down an inch or so.

  4. Parts:
    • Parts:

    • 2 1" x 16" threaded rods

    • 2 1" washers

    • 2 1" nuts

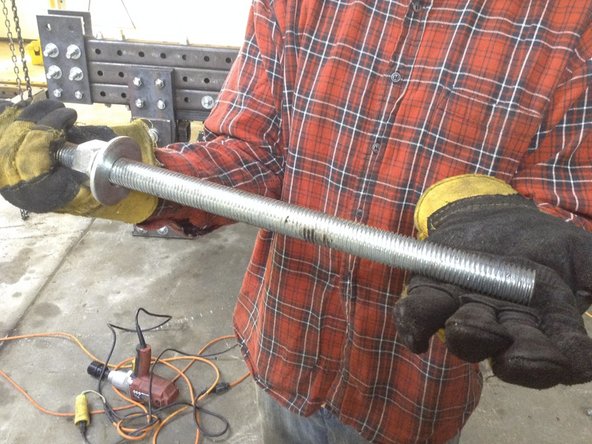
    • Screw a nut onto one end of each threaded rod and add the washer.

    • The threaded rod pictured is slightly longer, but 16" should do.

    • Parts:

    • 1 6 hole, 0.25" tube

    • 4 1" washers

    • Put each threaded rod through the end holes of the 6 hole tube and the 2 1 hole tubes.

    • Put 2 washers on each bolt after everything else. The washers will give the table clamp room to move up and down without rubbing against the frame.

  5. Parts:
    • Parts:

    • 1 4 hole, 0.25" tube

    • 2 1" x 6" bolts

    • 2 1" washers

    • 2 1" nuts

    • Put the bolts though washers, holes 2 and 5 of the 6 hole tube that's not touching the springs, and into the end holes of the 4 hole tube. Put the nuts on the inside of the 4 hole tube.

    • TODO pic of bolts going in

Finish Line

One other person completed this guide.

Dan Benamy

Member since: 10/14/2013

213 Reputation

3 Guides authored

0 Comments

Add Comment

View Statistics:

Past 24 Hours: 0

Past 7 Days: 0

Past 30 Days: 4

All Time: 289