
Difficulty
Moderate
Steps
8
Time Required
- Utility 8 steps

In Progress
This guide is currently being written. Reload periodically to see the latest changes.
Quiz
0
-
-
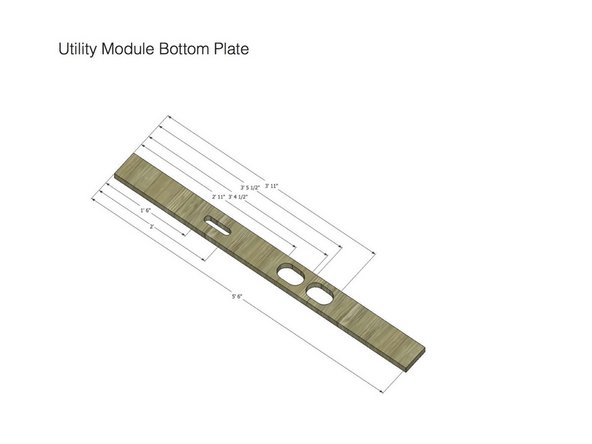
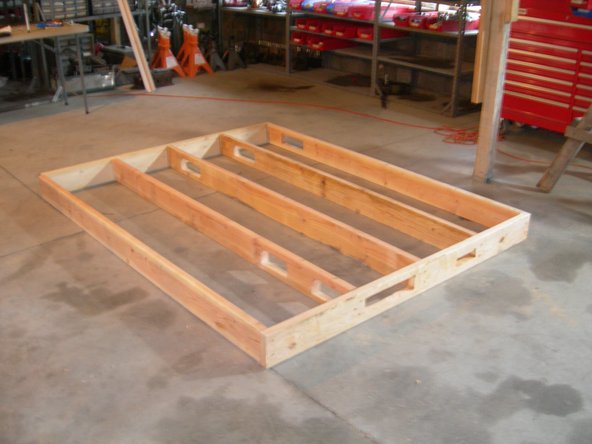
This is what the utility module will look like from the kitchen and from the bathroom sides.
-
-
-
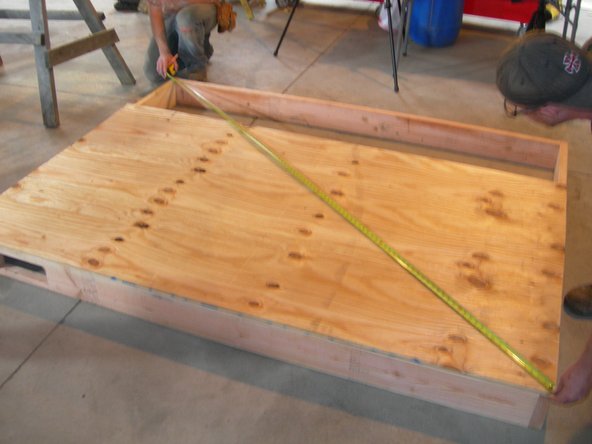
Before screwing down the sheathing, double-check to make sure that frame is square by measuring the diagonals.
-
Once the diagonals measure the same, screw on the sheathing. Then, check the diagonal measurements one more time to make sure that the frame did not shift while you were screwing on the sheathing.
-


Cancel: I did not complete this guide.
One other person completed this guide.