
Introduction
Download the Sketchup (skp) file of the MH 2 Door Module here: http://opensourceecology.org/wiki/File:M...
Use the scene tabs at the top in the model to see the various steps in the assembly, the full module, or the cut pieces.
Parts
-
-
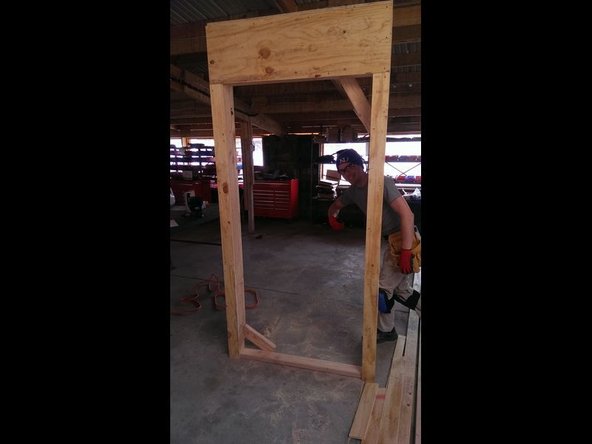
The most important part of building any rough opening is to make certain that it is the proper size. If you are not using exactly the same door that we specify, double-check the ROUGH OPENING size specified by the manufacturer. Note: This is different from the frame size. Rough opening is abbreviated, "R.O."
-
The R.O. for the door we are using is 38 1/4" W x 82" H. The image at left shows the door from MH 1. We are using the same door in MH 2, except that it has a right hand (RH) swing instead of a left hand (LH) swing.
-
Estimated time 1 hr 40 mins for two people.
-
-
-
The image shows the lengths of the 2x4s you will need to make the door module.
-
CUT LIST - NOTE DIFFERENCES BETWEEN IMAGE AND LIST - FOLLOW LIST, NOT IMAGE!
-
2 @ 8'
-
2 @ 6' - 10"
-
3 @ 3' - 5 1/4"
-
1 @ 3' - 2 1/4"
-
2 lengths of scrap for gussets approximately 2-4'
-
You can also access the cutlist spreadsheet here: https://docs.google.com/a/opensourceecol...
-
-
-
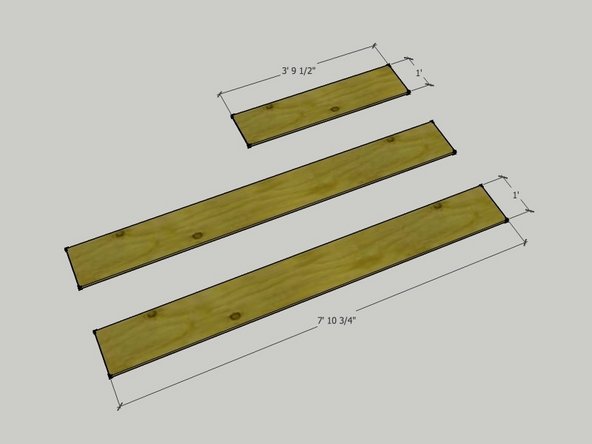
The image shows the plywood pieces needed to make the door module.
-
CUT LIST - NOTE DIFFERENCES BETWEEN IMAGE AND LIST - FOLLOW LIST, NOT IMAGE!
-
2 @ 11 3/8" wide x 8' long
-
1 @ 11 3/8" wide x 3' 9 1/2" long
-
First, rip the plywood into 12" wide strips using the table saw.
-
Then, measure and mark the lengths onto the 12" wide strips.
-
Cut the strips to length with your circular saw.
-
-
-
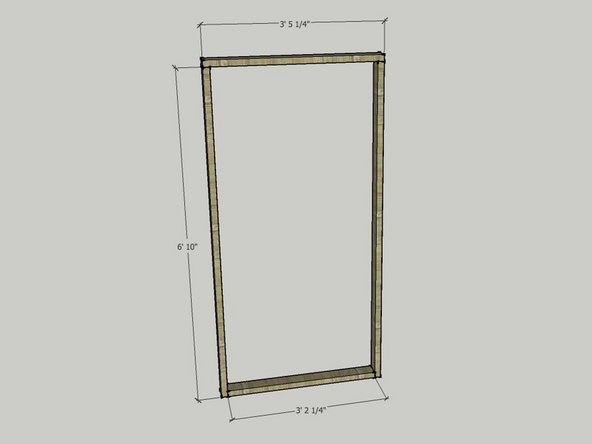
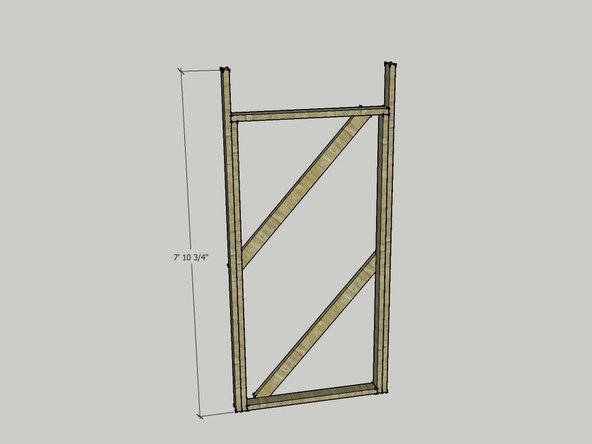
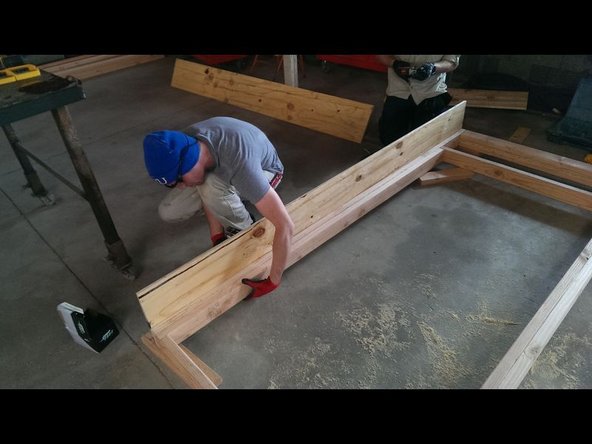
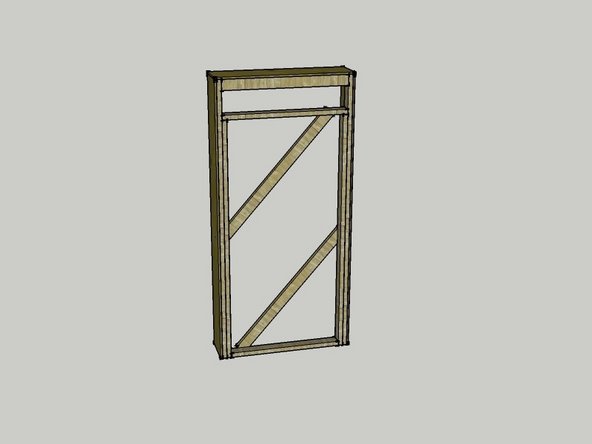
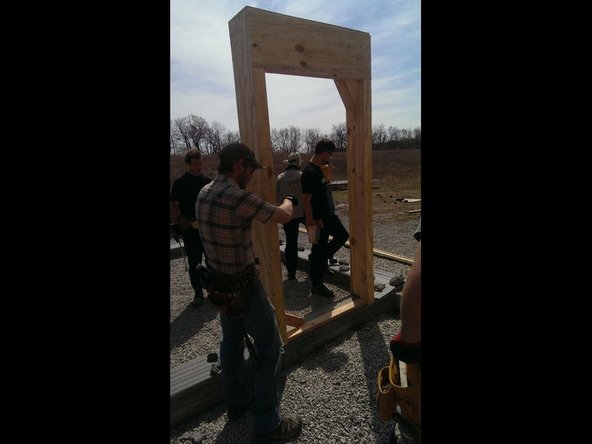
The first part of assembly is to create the frame as seen in the image on left.
-
Pay special attention to how the pieces come together on the corners.
-
You will screw down through the top pieces into the side pieces. Pre-drill two holes on each side for these attachments. Make sure to keep the boards flush with each other other you make the connections. Use 3" screws for these connections.
-
On the bottom, you will screw through the sides of the long pieces and into the bottom piece. Again, you will use 3" screws for these connections.
-
-
-
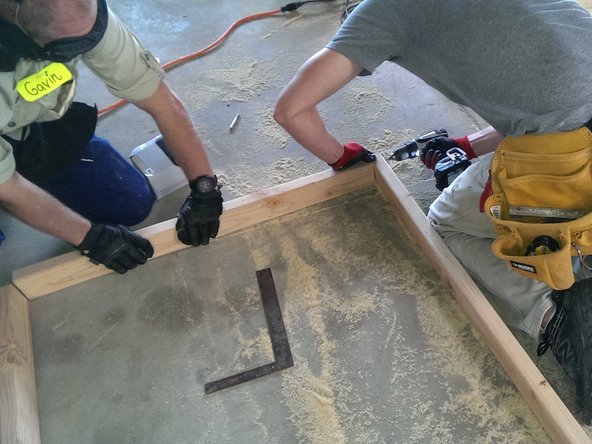
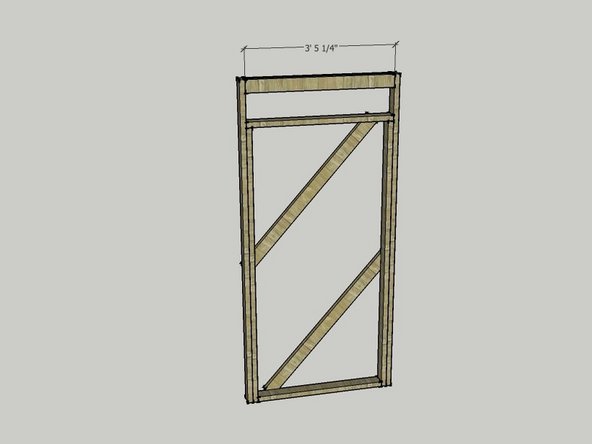
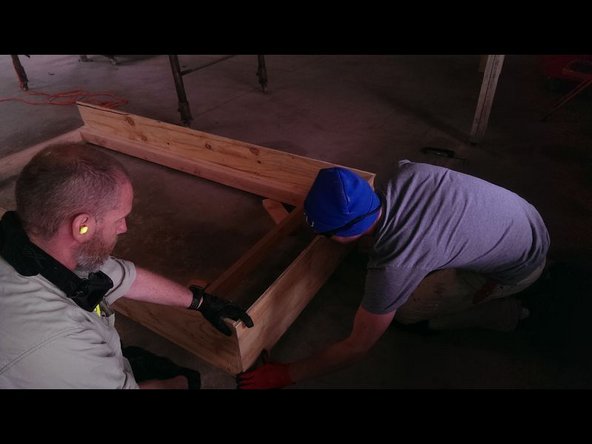
In this step you will build and insert the header at the top of the frame.
-
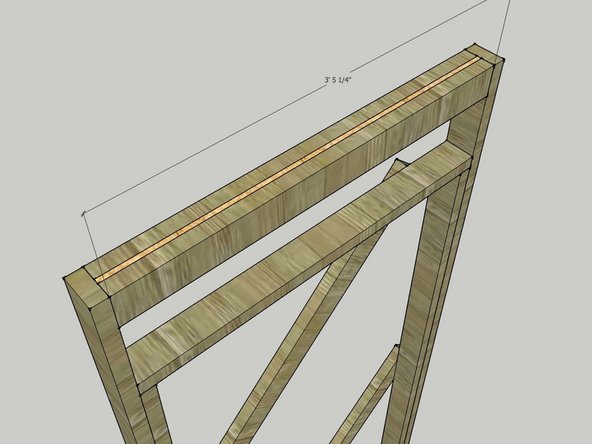
The header is made of two 2x4s with 1/2" sheet material sandwiched in between them. See image 2 for a close-up of the header.
-
First, fit the pieces together so that they are all flush with each other. Use clamps or a partner to hold them in place.
-
Screw them together with pairs of 3" screws - one pair on each end and one pair in the middle.
-
-
-
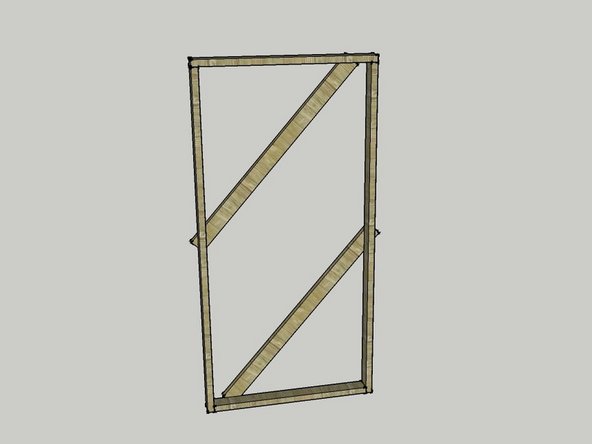
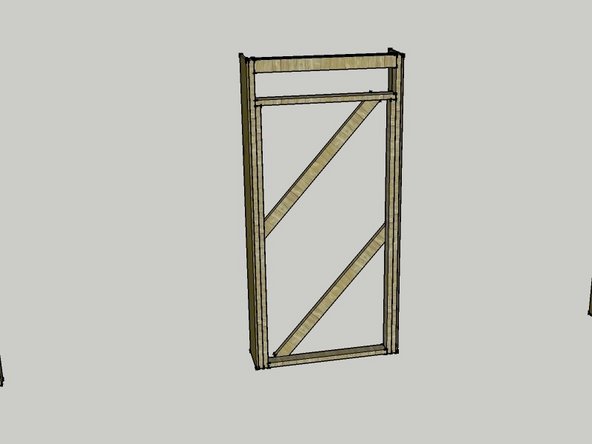
Add the plywood top to the frame.
-
The long edge will be flush with the front of the frame, and the short sides will be flush the long plywood sides.
-
Screw this into place with 1 1/2" screws - put one on each end and two evenly spaced in between. Make sure these screws are going into the 2x4 framing, not the other plywood.
-
Once you have the plywood screwed in, use 6d or similar nails to tack the edges of the plywood together. Hold them flush as you do this. Pre-drilling holes is helpful for those with less experience.
-


Download the Sketchup (skp) file of the MH 2 Door Module here: http://opensourceecology.org/wiki/File:M...
Download the Sketchup (skp) file of the MH 2 Door Module here: http://opensourceecology.org/wiki/File:M...
Cancel: I did not complete this guide.
One other person completed this guide.